Building our Art Studio - old materials made new

Blending old with new isn’t just about echoing the style of our 1965 mid century modern home into the design of the new Art Studio, it’s also about filling our space with old materials given new life!
Take a look at the finished studio
It all started with the brick
When the old carport was torn down, my hubby meticulously removed, cleaned-up and set aside the old bricks from the areas that would be covered by my new canvas storage closet. These bricks were then reinstalled in the visible areas around the new doorway and up to the new, higher ceiling.


Interestingly, these bricks are a different color and size than any that are on the market now. So we were very lucky to have enough to finish the job.

Note that the new grout is darker - that’s not just because it’s wet, it’s a special color the installer mixed up to match the aged existing grout once it fades. He told us it could take a year to blend into the right color.

The brick with undertones of grey, cool cream and pink drove the color palette for our new space.
A beach cottage theme
I decided to go with a beachy, sandy theme filled with warm grey and taupe neutrals and natural materials that would provide a soft backdrop for my vibrant artwork.
I chose Benjamin Moore ‘White Sands’ (how could I resist the name?!) for walls and ceiling, and a wash of grey stain for the beams.
I knew I wanted natural wood flooring (and I’m partial to old, reclaimed, wide plank!). Unfortunately, most American wood has too much yellow, orange and red to work with the greyed palette. Yes, I could have stained it grey, but I really wanted to keep the warmth of clear wood. So (thanks to advise from my dear friend Dagmar of Linen & Wood Interior in the Netherlands, I decided to go with antique European Oak which has a soft taupe undertone. Absolutely perfect!
And oh so gorgeous with blackened nail holes and knots. We even found a US importer who could slice it and mount it onto engineered wood (so it wouldn’t cup with our underfloor heat).

Isn’t it scrumptious?!

In fact, I loved it so much, we pulled the European Oak into the master bedroom too!

Only problem now was that the wood in the hallway of the old house leading into the studio (and master bedroom) was dark walnut with a golden Swedish Finish and though lovely on it’s own, clashed with the European Oak.

Opening up the wall between the old house and new studio - note how dark and golden the existing walnut flooring is.
But when the flooring installers came to patch up the area where walls used to be, they had to replace some of the old flooring with new, unfinished walnut. And the raw color was exactly what I was looking for!

Solution? Sand off all that chemical-laden Swedish Finish back to the raw wood, then seal with a eco-friendly clear, matte finish. Voila! Perfect!

Office and Hallway leading into Studio
I love how the color undertone flows from raw Walnut to European Oak

Using Driftwood
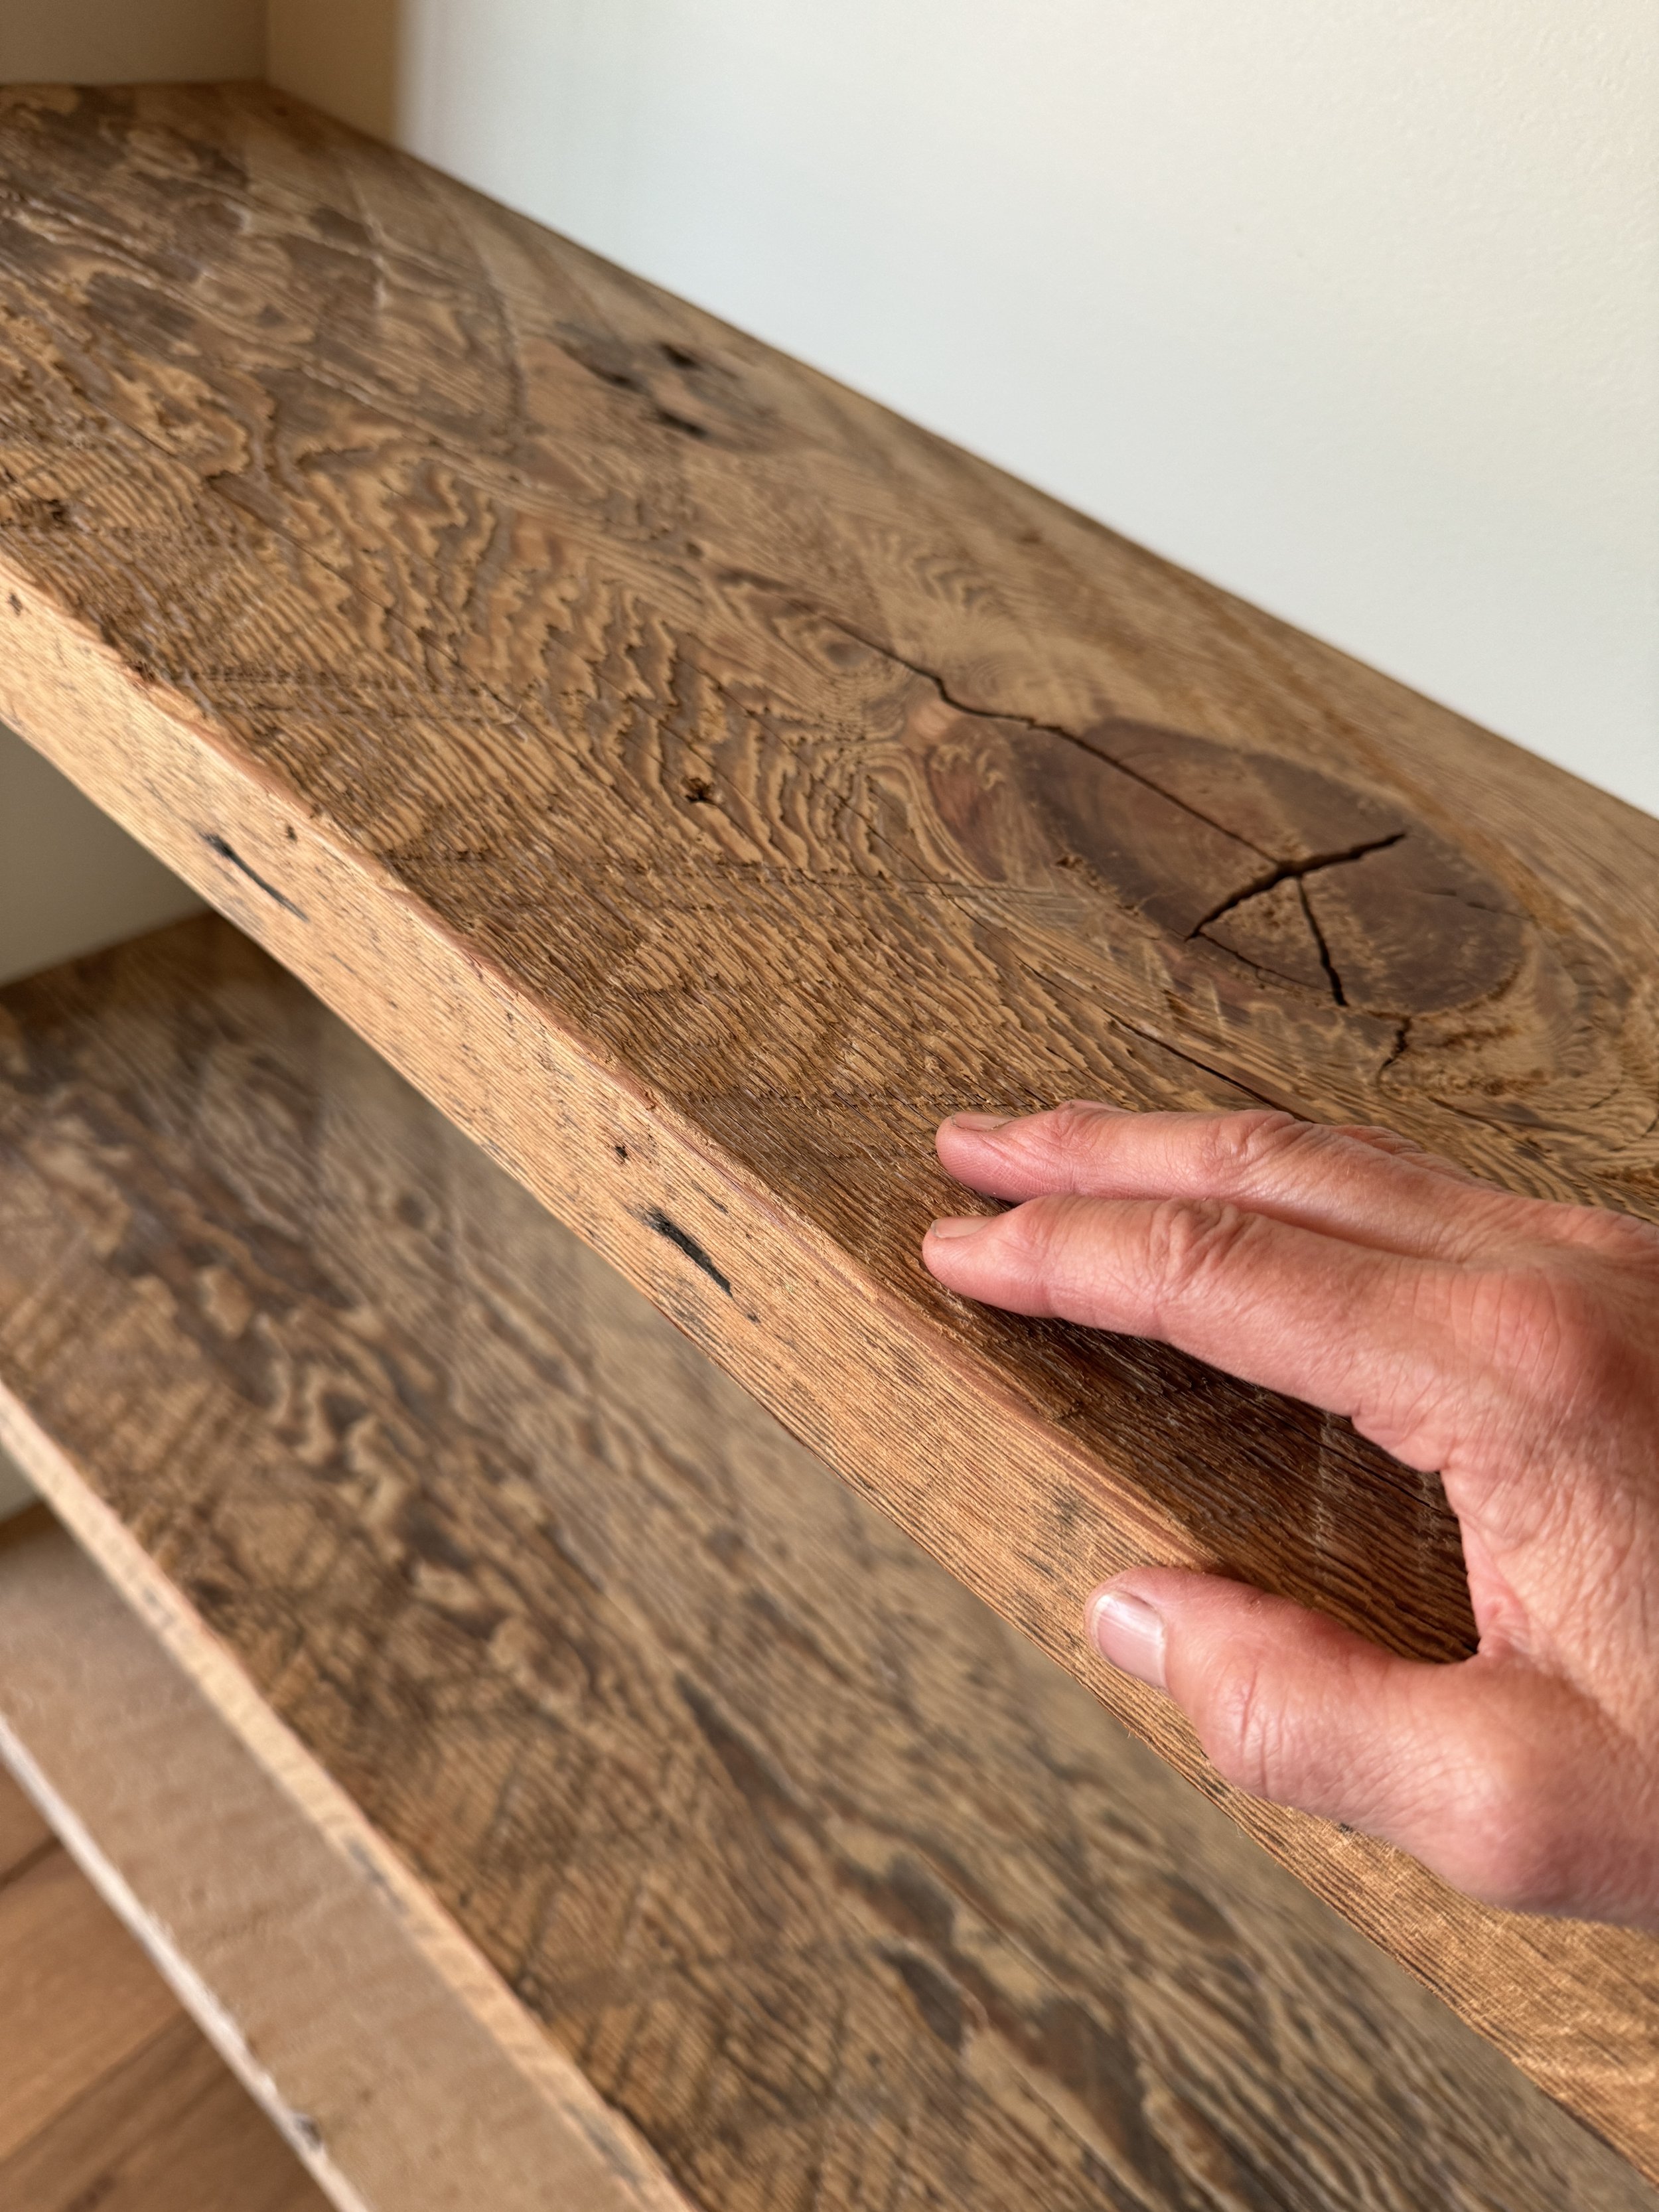
In keeping with the beachy theme, what better wood for the sink area than driftwood?! We found a sea-washed beam for the ‘legs’ of the sink and a nail-riddled piece for the backsplash. Mixed with old lumber from an old warehouse in Tacoma and sea-grass baskets for tea, rags and whatnot, I think we achieved the beach look! The counter is grey quartz and I chose a deep double sink - one half for normal stuff and the small side for cleaning brushes.


A close-up of the sea-aged beam, complete with nail holes!
We had a bit of a door fiasco - I originally ordered a gorgeous hand-carved door from Turkey via Etsy. Unfortunately, when it arrived 3 months later, it turned out that the old gorgeous hand-carved door in the photo was not what I was getting… rather a machine cut pseudo-replica of an antique door. Needless to say, I was. not. happy. The seller gave me a refund, with the caveat that I wouldn’t post a negative review. Ugh. Though it went against my ethics, it was a lot of money. So I accepted the refund then dragged my hubby to one of our favorite stores - Second Use in Seattle (I didn’t really have to drag him - it’s like a candy store for DIY home project folks!).
We came home with three solid fir doors!
Of course fir has a reddish undertone that - you guessed it - wouldn’t quite work with my theme. So, I stained it grey, then asked my hubby to sand off almost all of the stain. He balked and griped and wondered why the heck I even stained it…

But the effect was EXACTLY what I was looking for (with a piece of driftwood on top of course!)

While we were at Second Use, we found Shoshi-type doors for the guest room off of my office! All that was needed was a sander to take off most of the dark brown paint, plus some barn door hardware. Now, this tiny room has both privacy, as well as a wall of natural light!

Not to be outdone in the gorgeous-old-wood department, our book shelves are lightly sanded old wood from a warehouse in Tacoma that was torn down a few decades ago (that’s another story for another time). The wood is so stunning, it will be hard to cover it up.
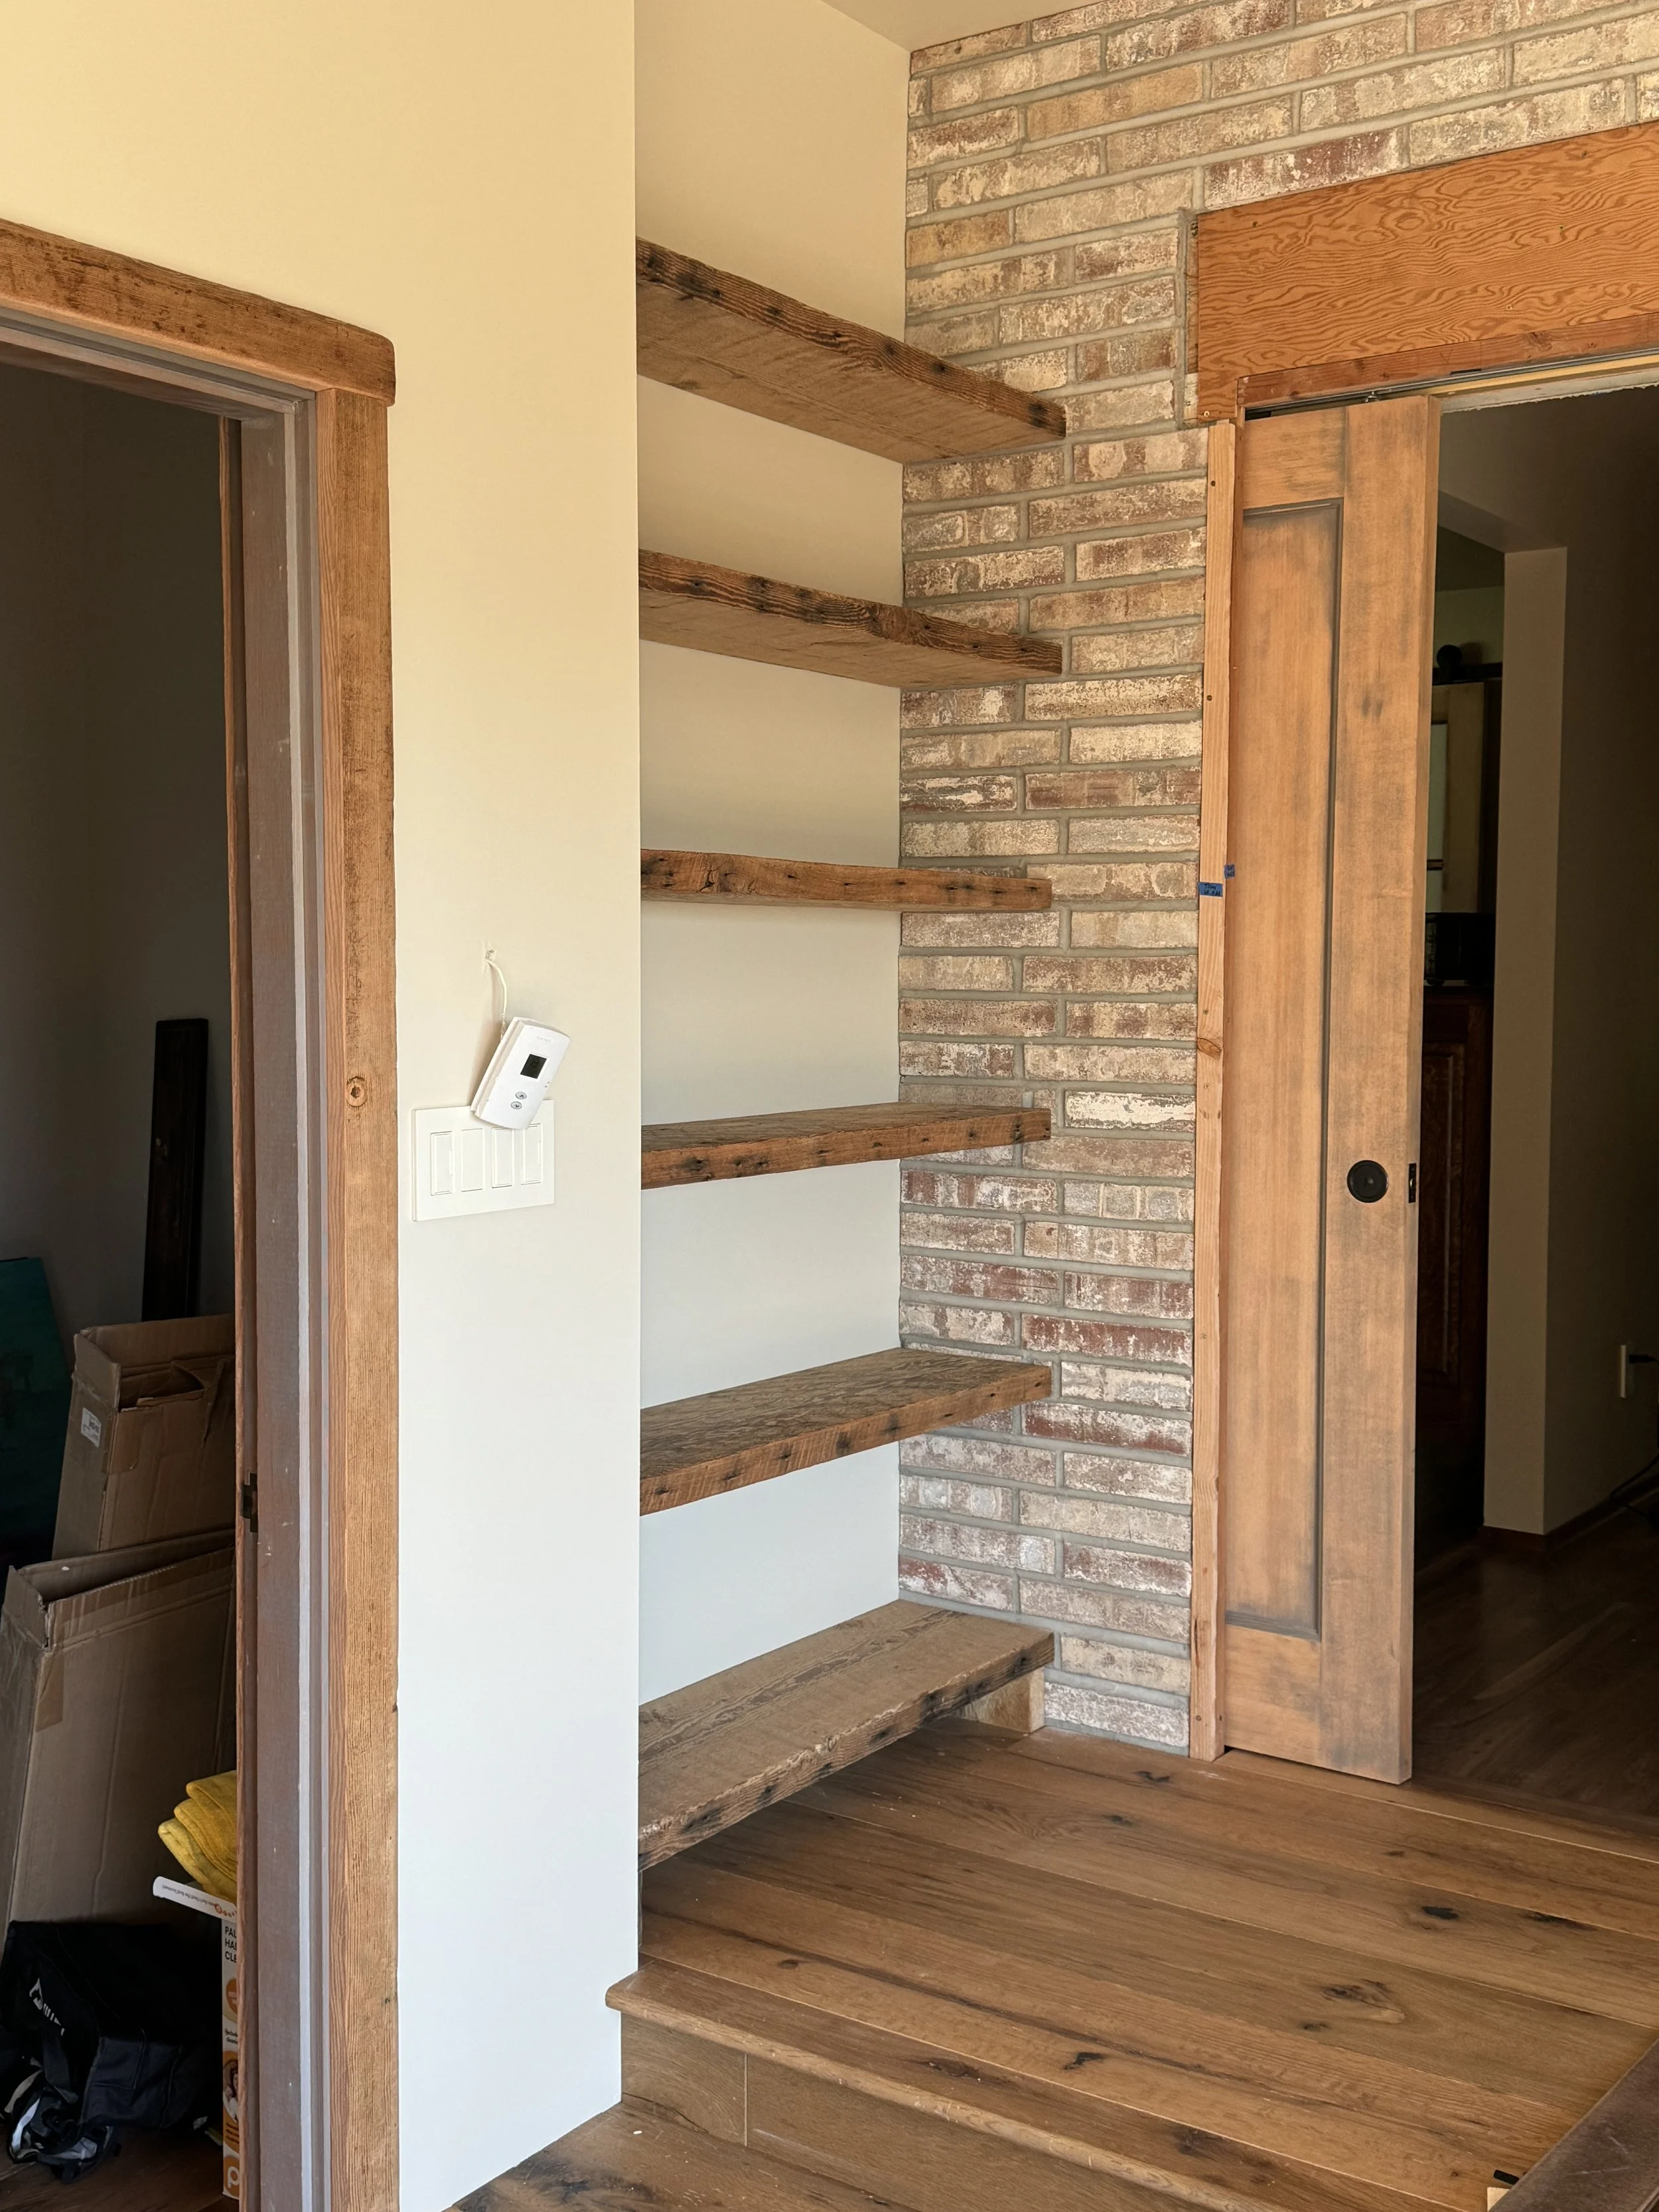
Of course, it didn’t take me long to fill them with colorful goodies including my Art Under Glass jewelry

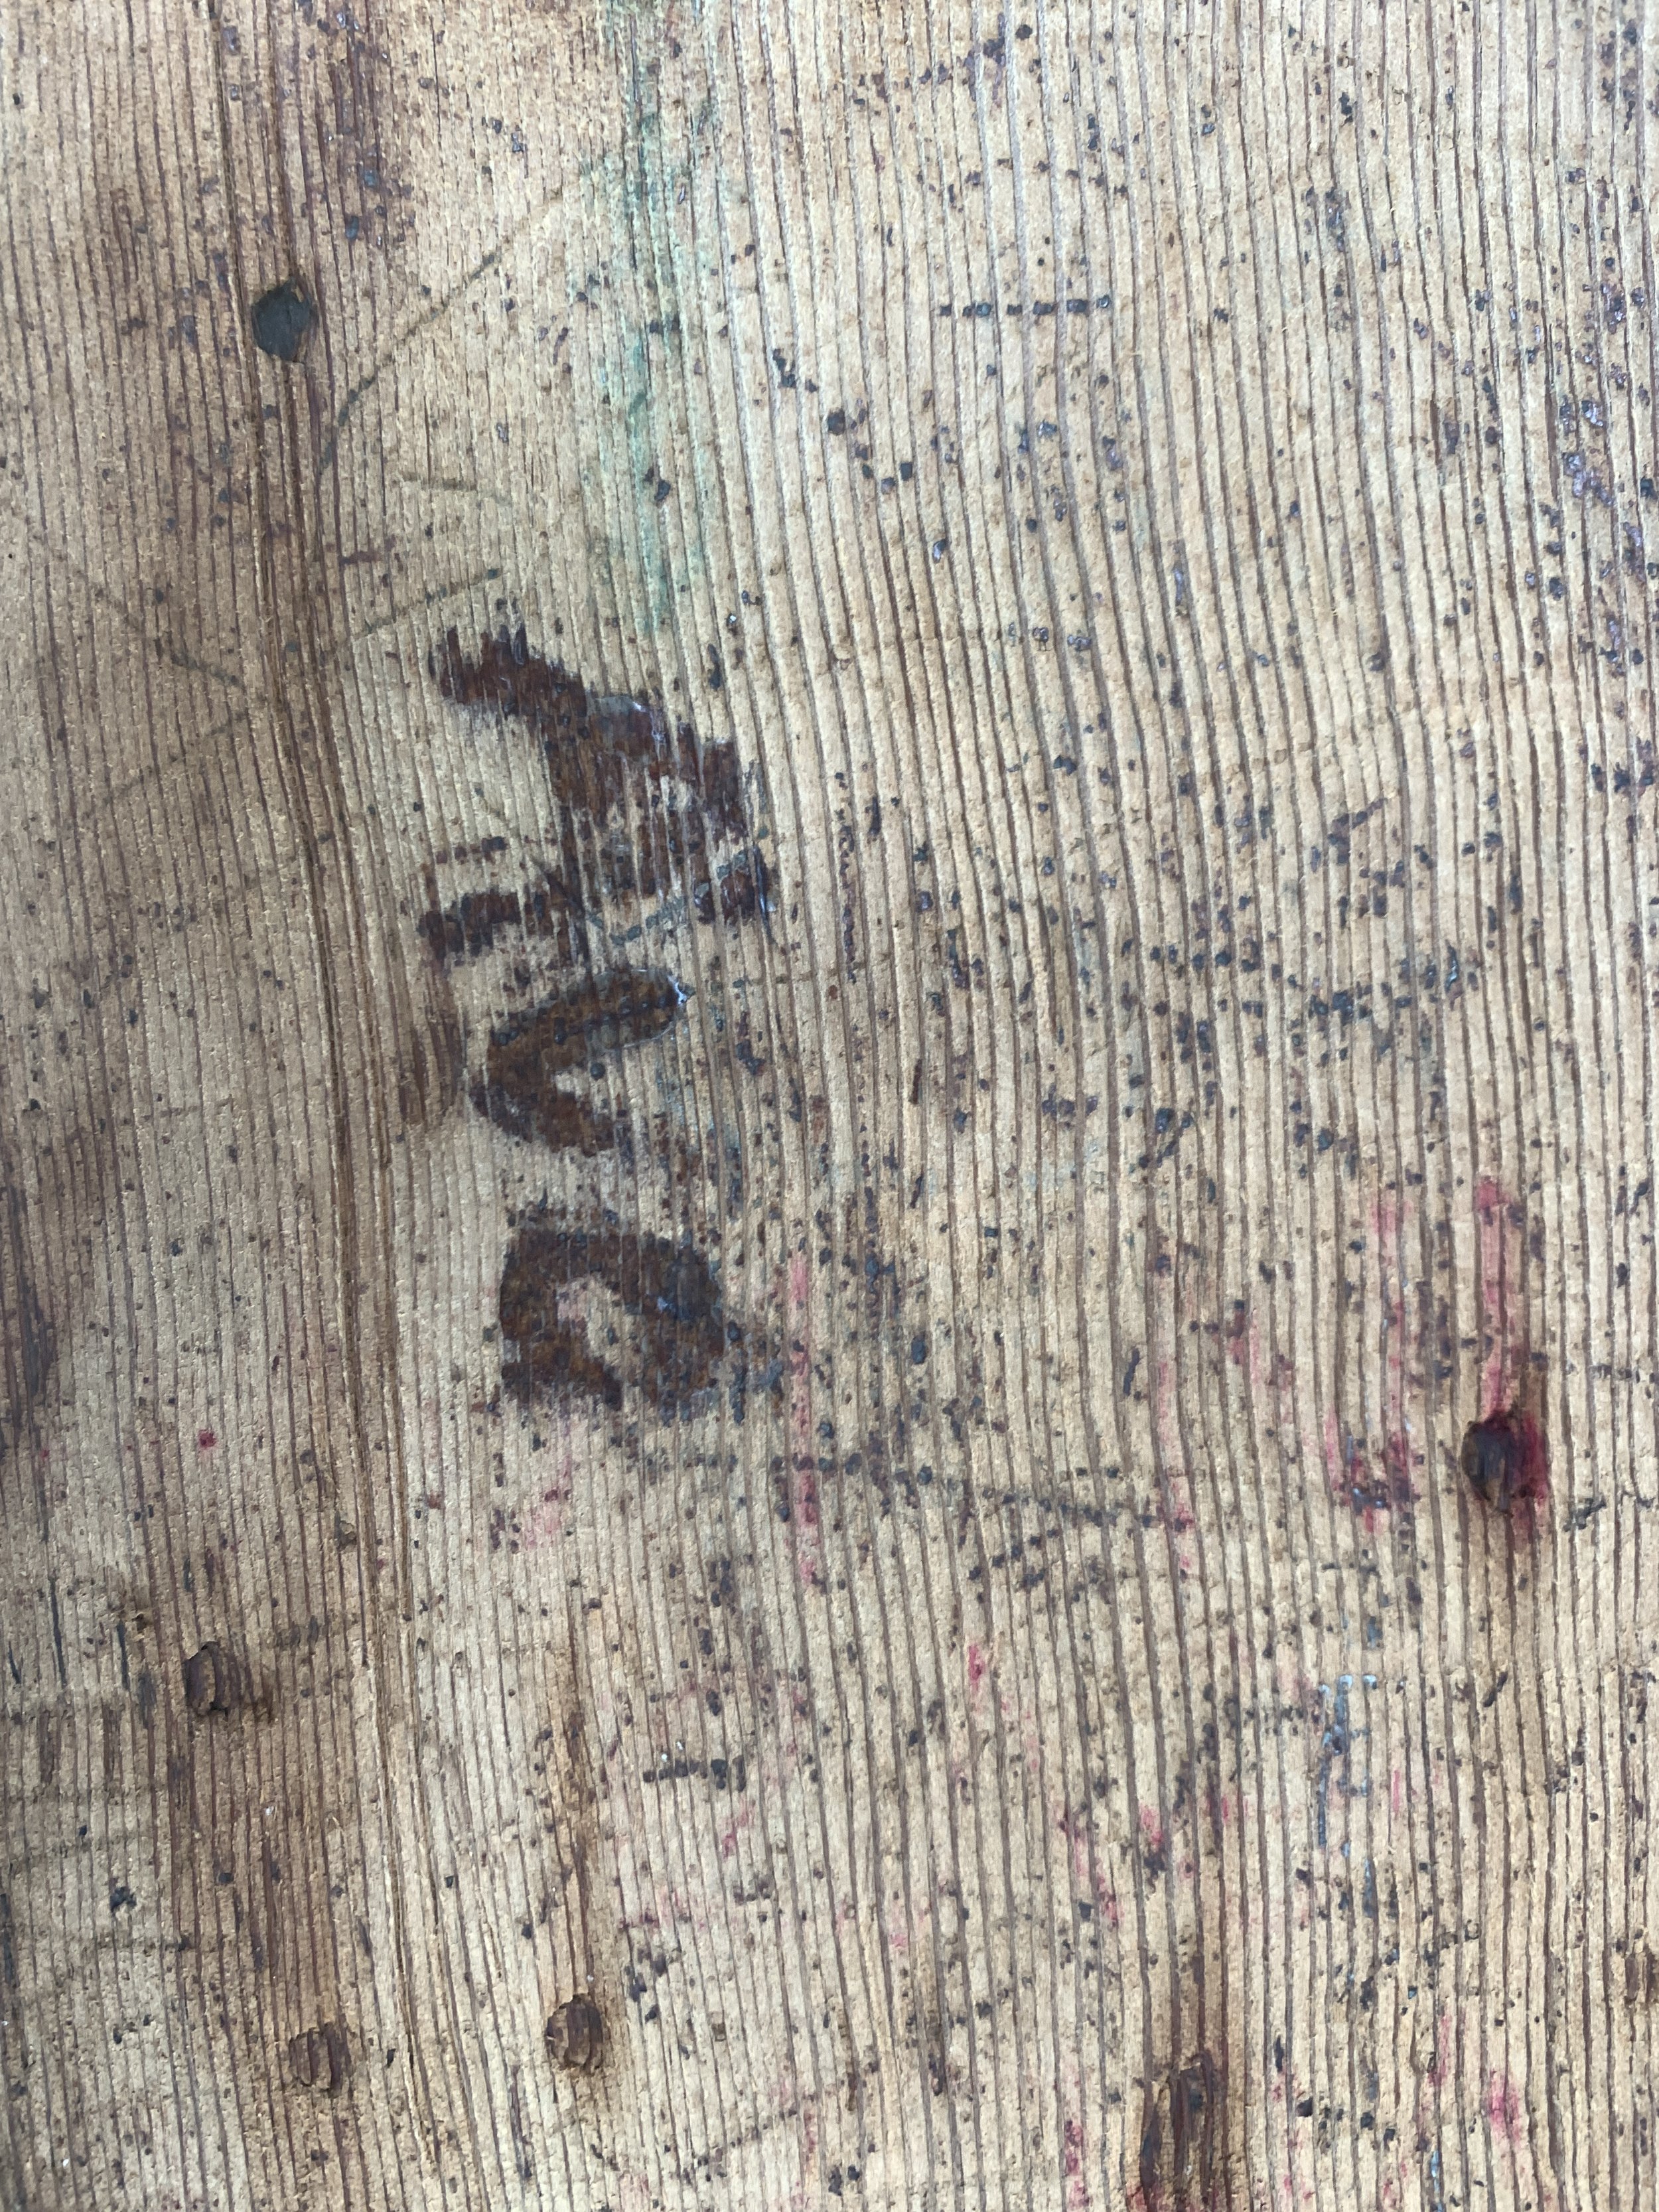
Oh, and did I mention another fabulous find at Second Use: Old Junior Highschool bleachers, complete with graffiti and gum. What to do with them? Clean them up and use them for window sills of course!

Yup. That’s gum

Jerry scraped off most of the gum. Then I scrubbed and scrubbed and scrubbed, sanding off the graffiti that was a bit too… shall we say graphic… but leaving bits and pieces for character

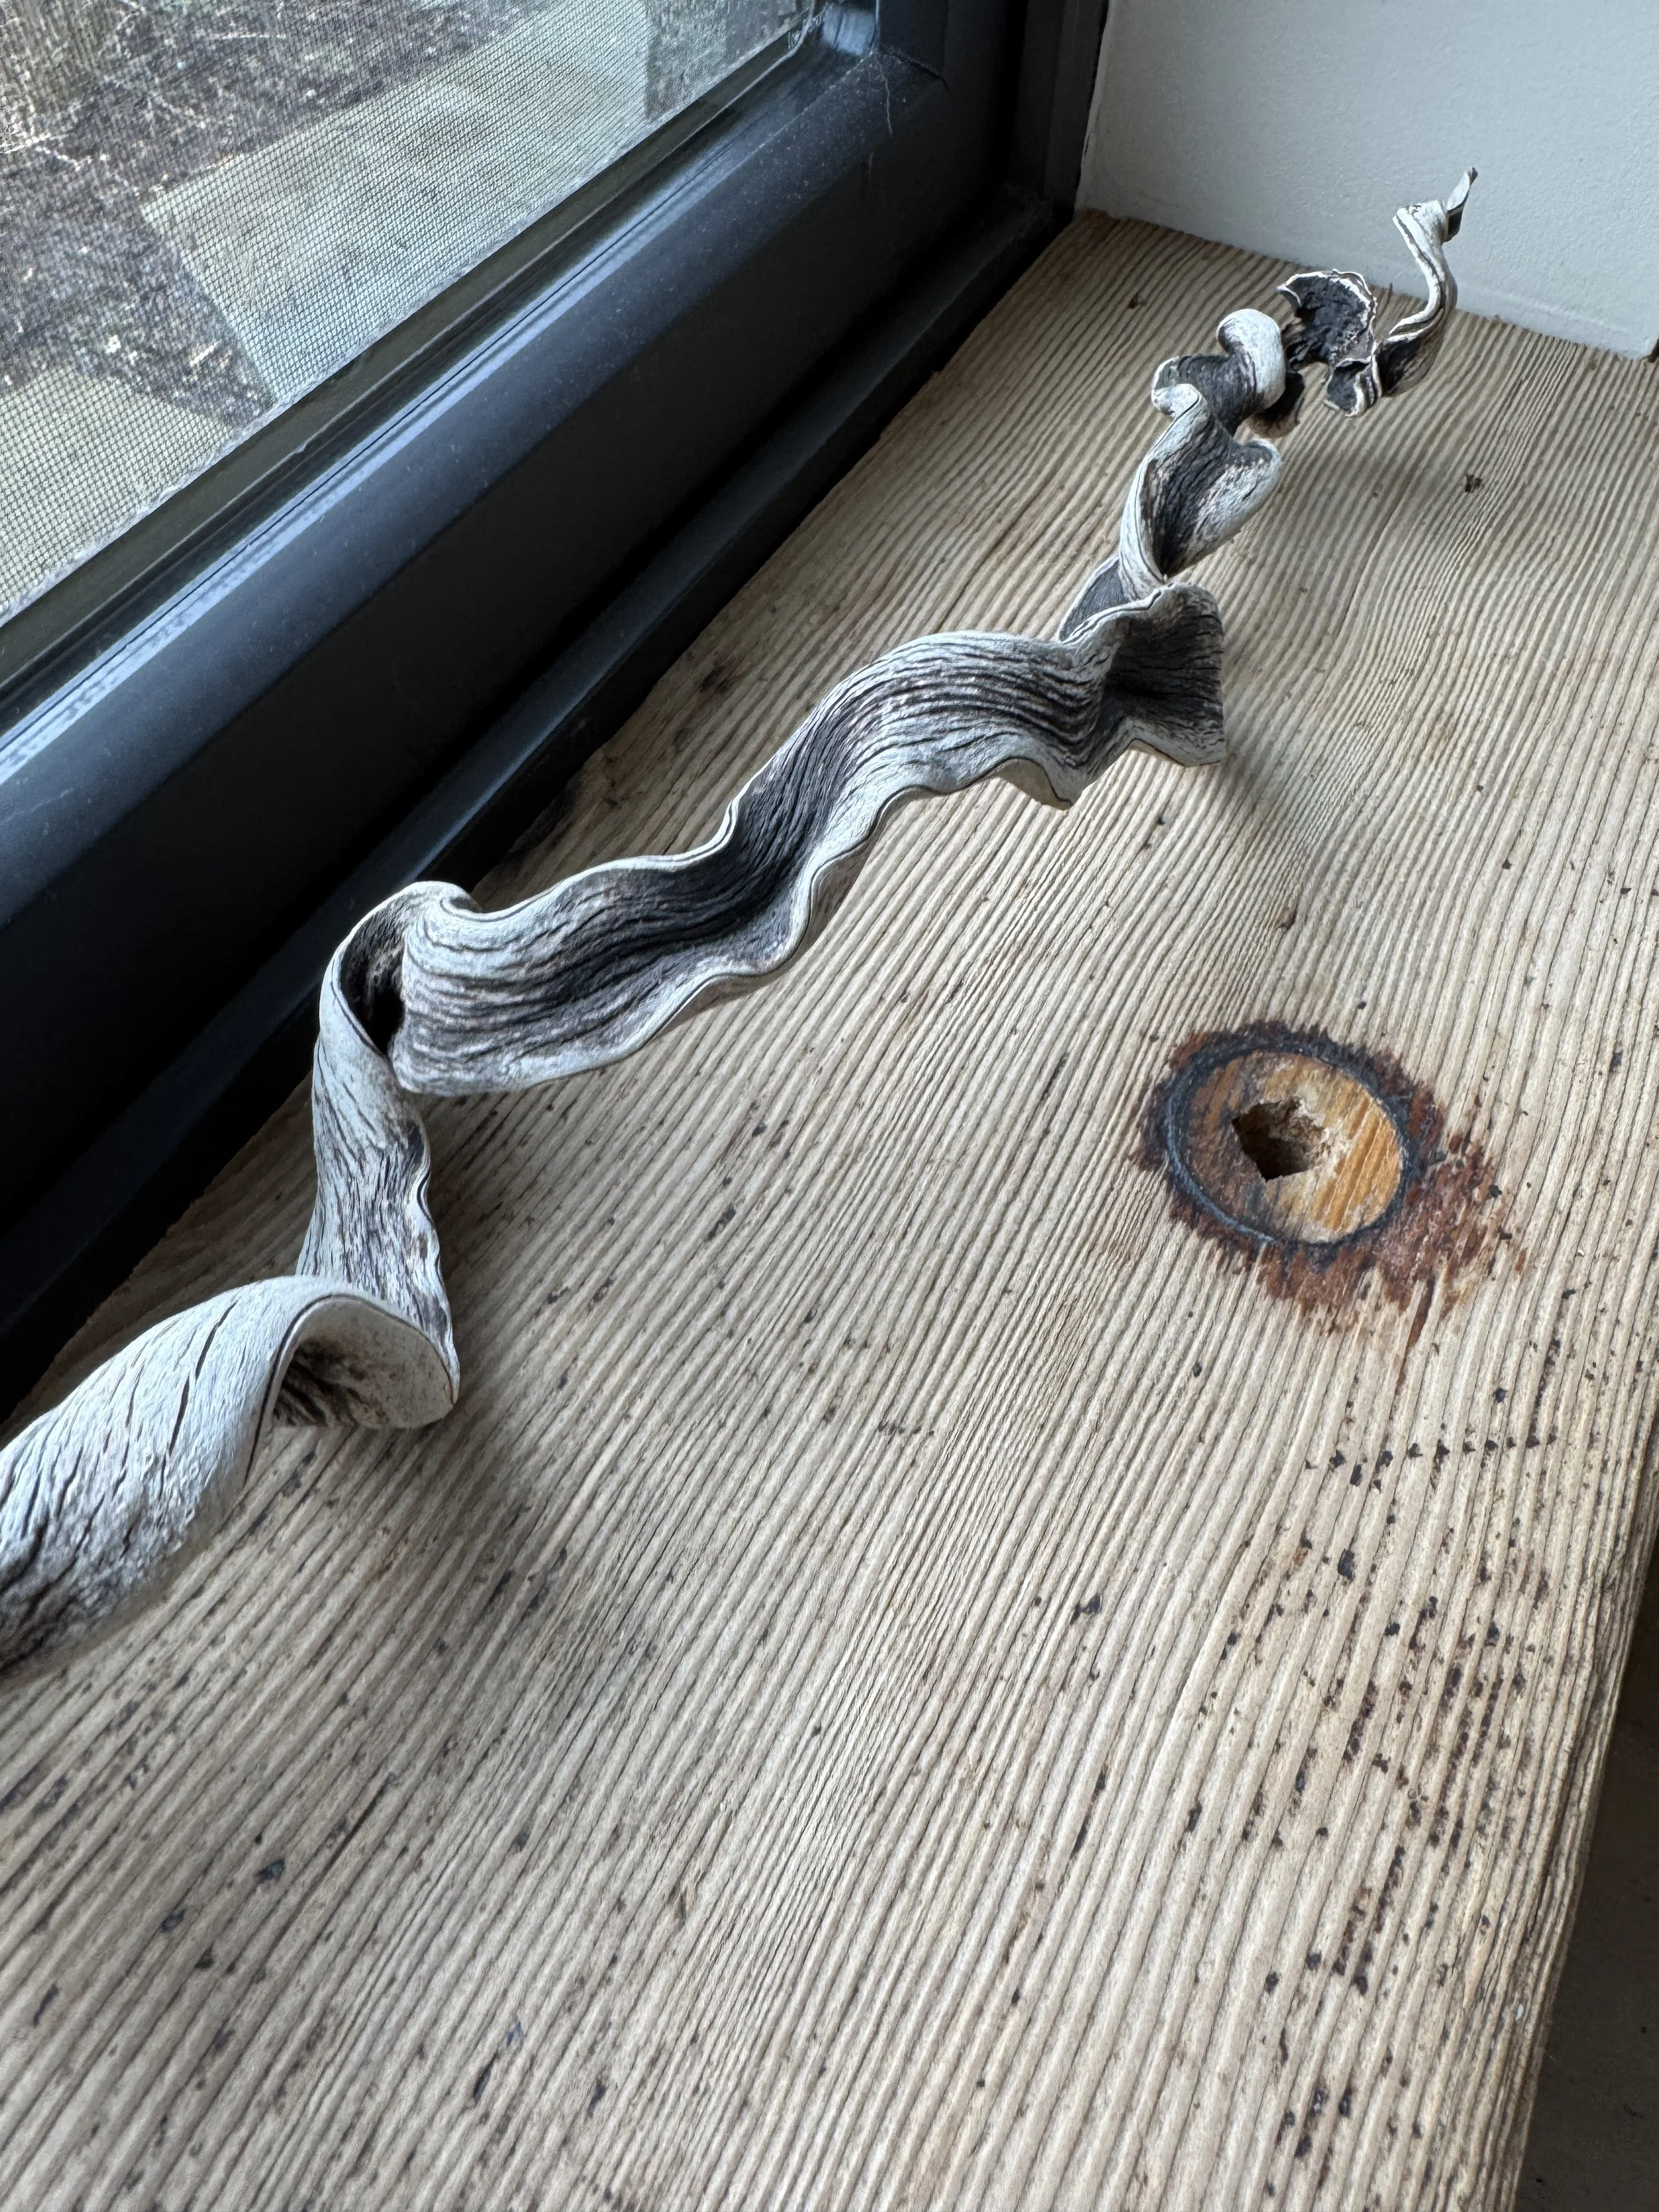
Here are the scrubbed boards ready to be cut into window sills. Bonus: since the wood was scrubbed for hours with soap and water, rain coming in through an open window, or a bit of spilled tea won’t damage the wood!

Finished window sill (isn’t that a fabulous piece of dried kelp?)
Once the materials were in place, it was time to furnish!
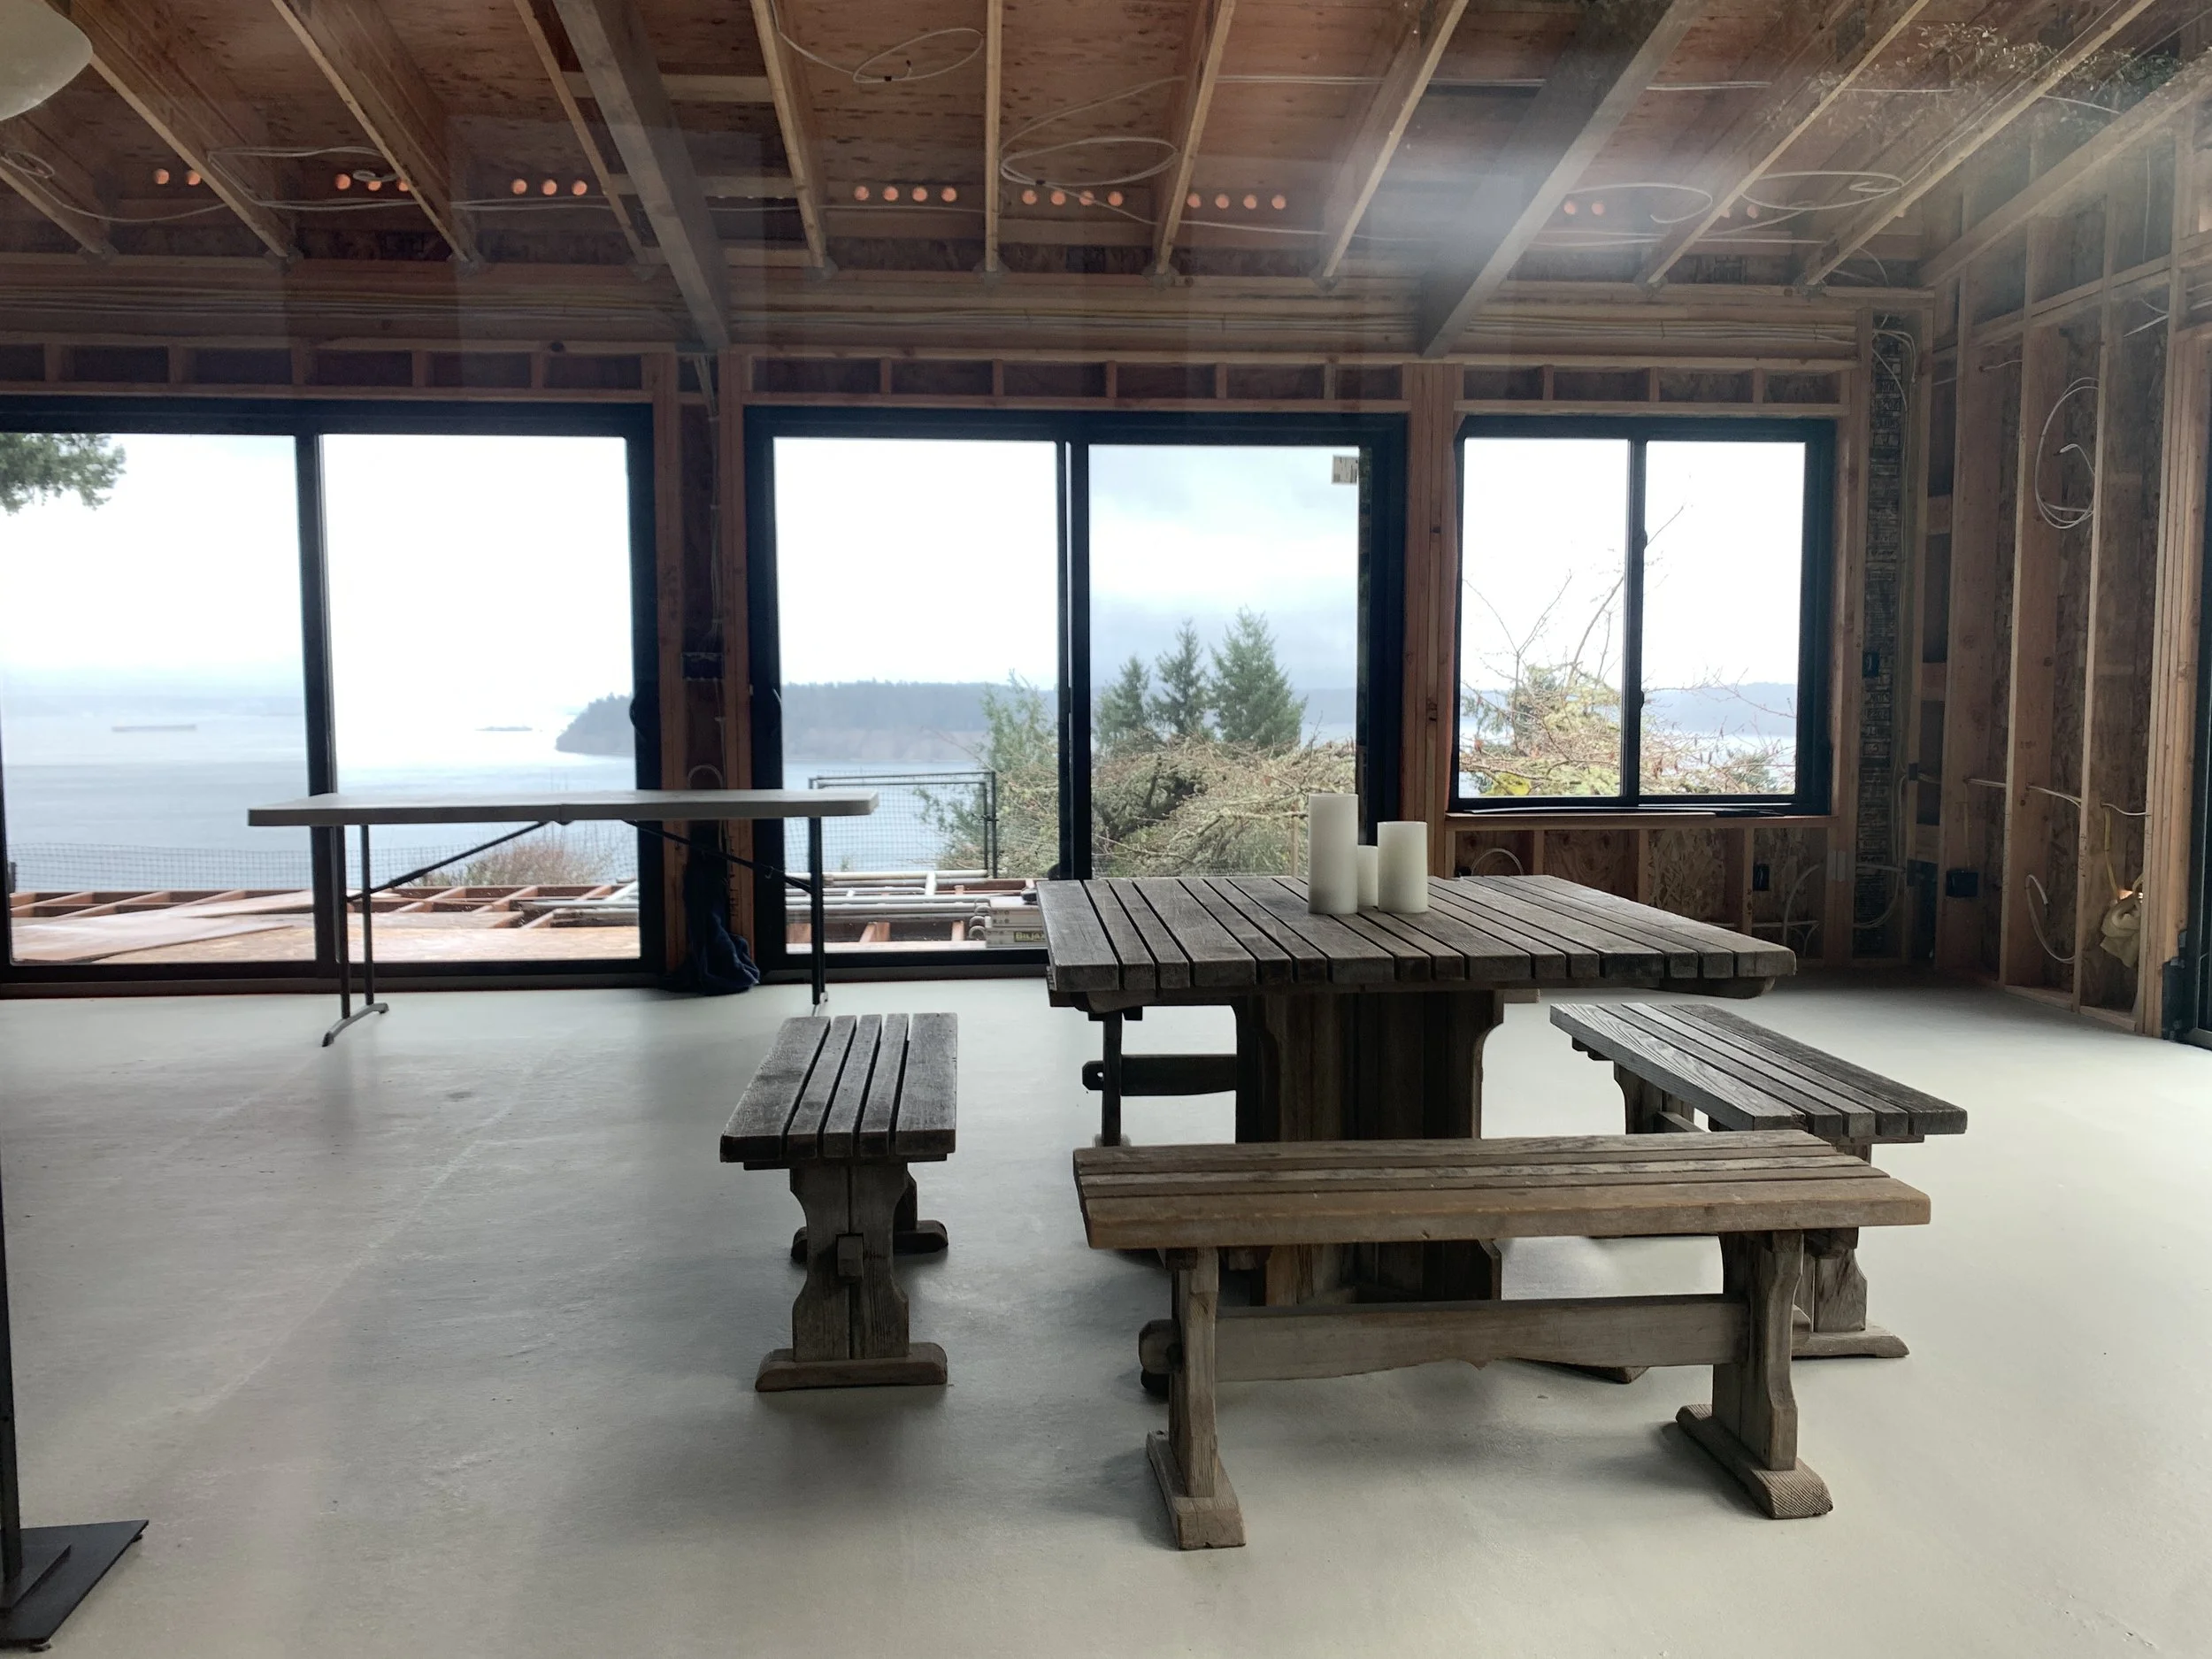
Right off the bat, I knew our old square picnic table–which found it’s way from outside to inside many years ago–would be the perfect writing table for one corner. It also doubles as a puzzle-making, jewelry-making, and eating (imagine that?) table.
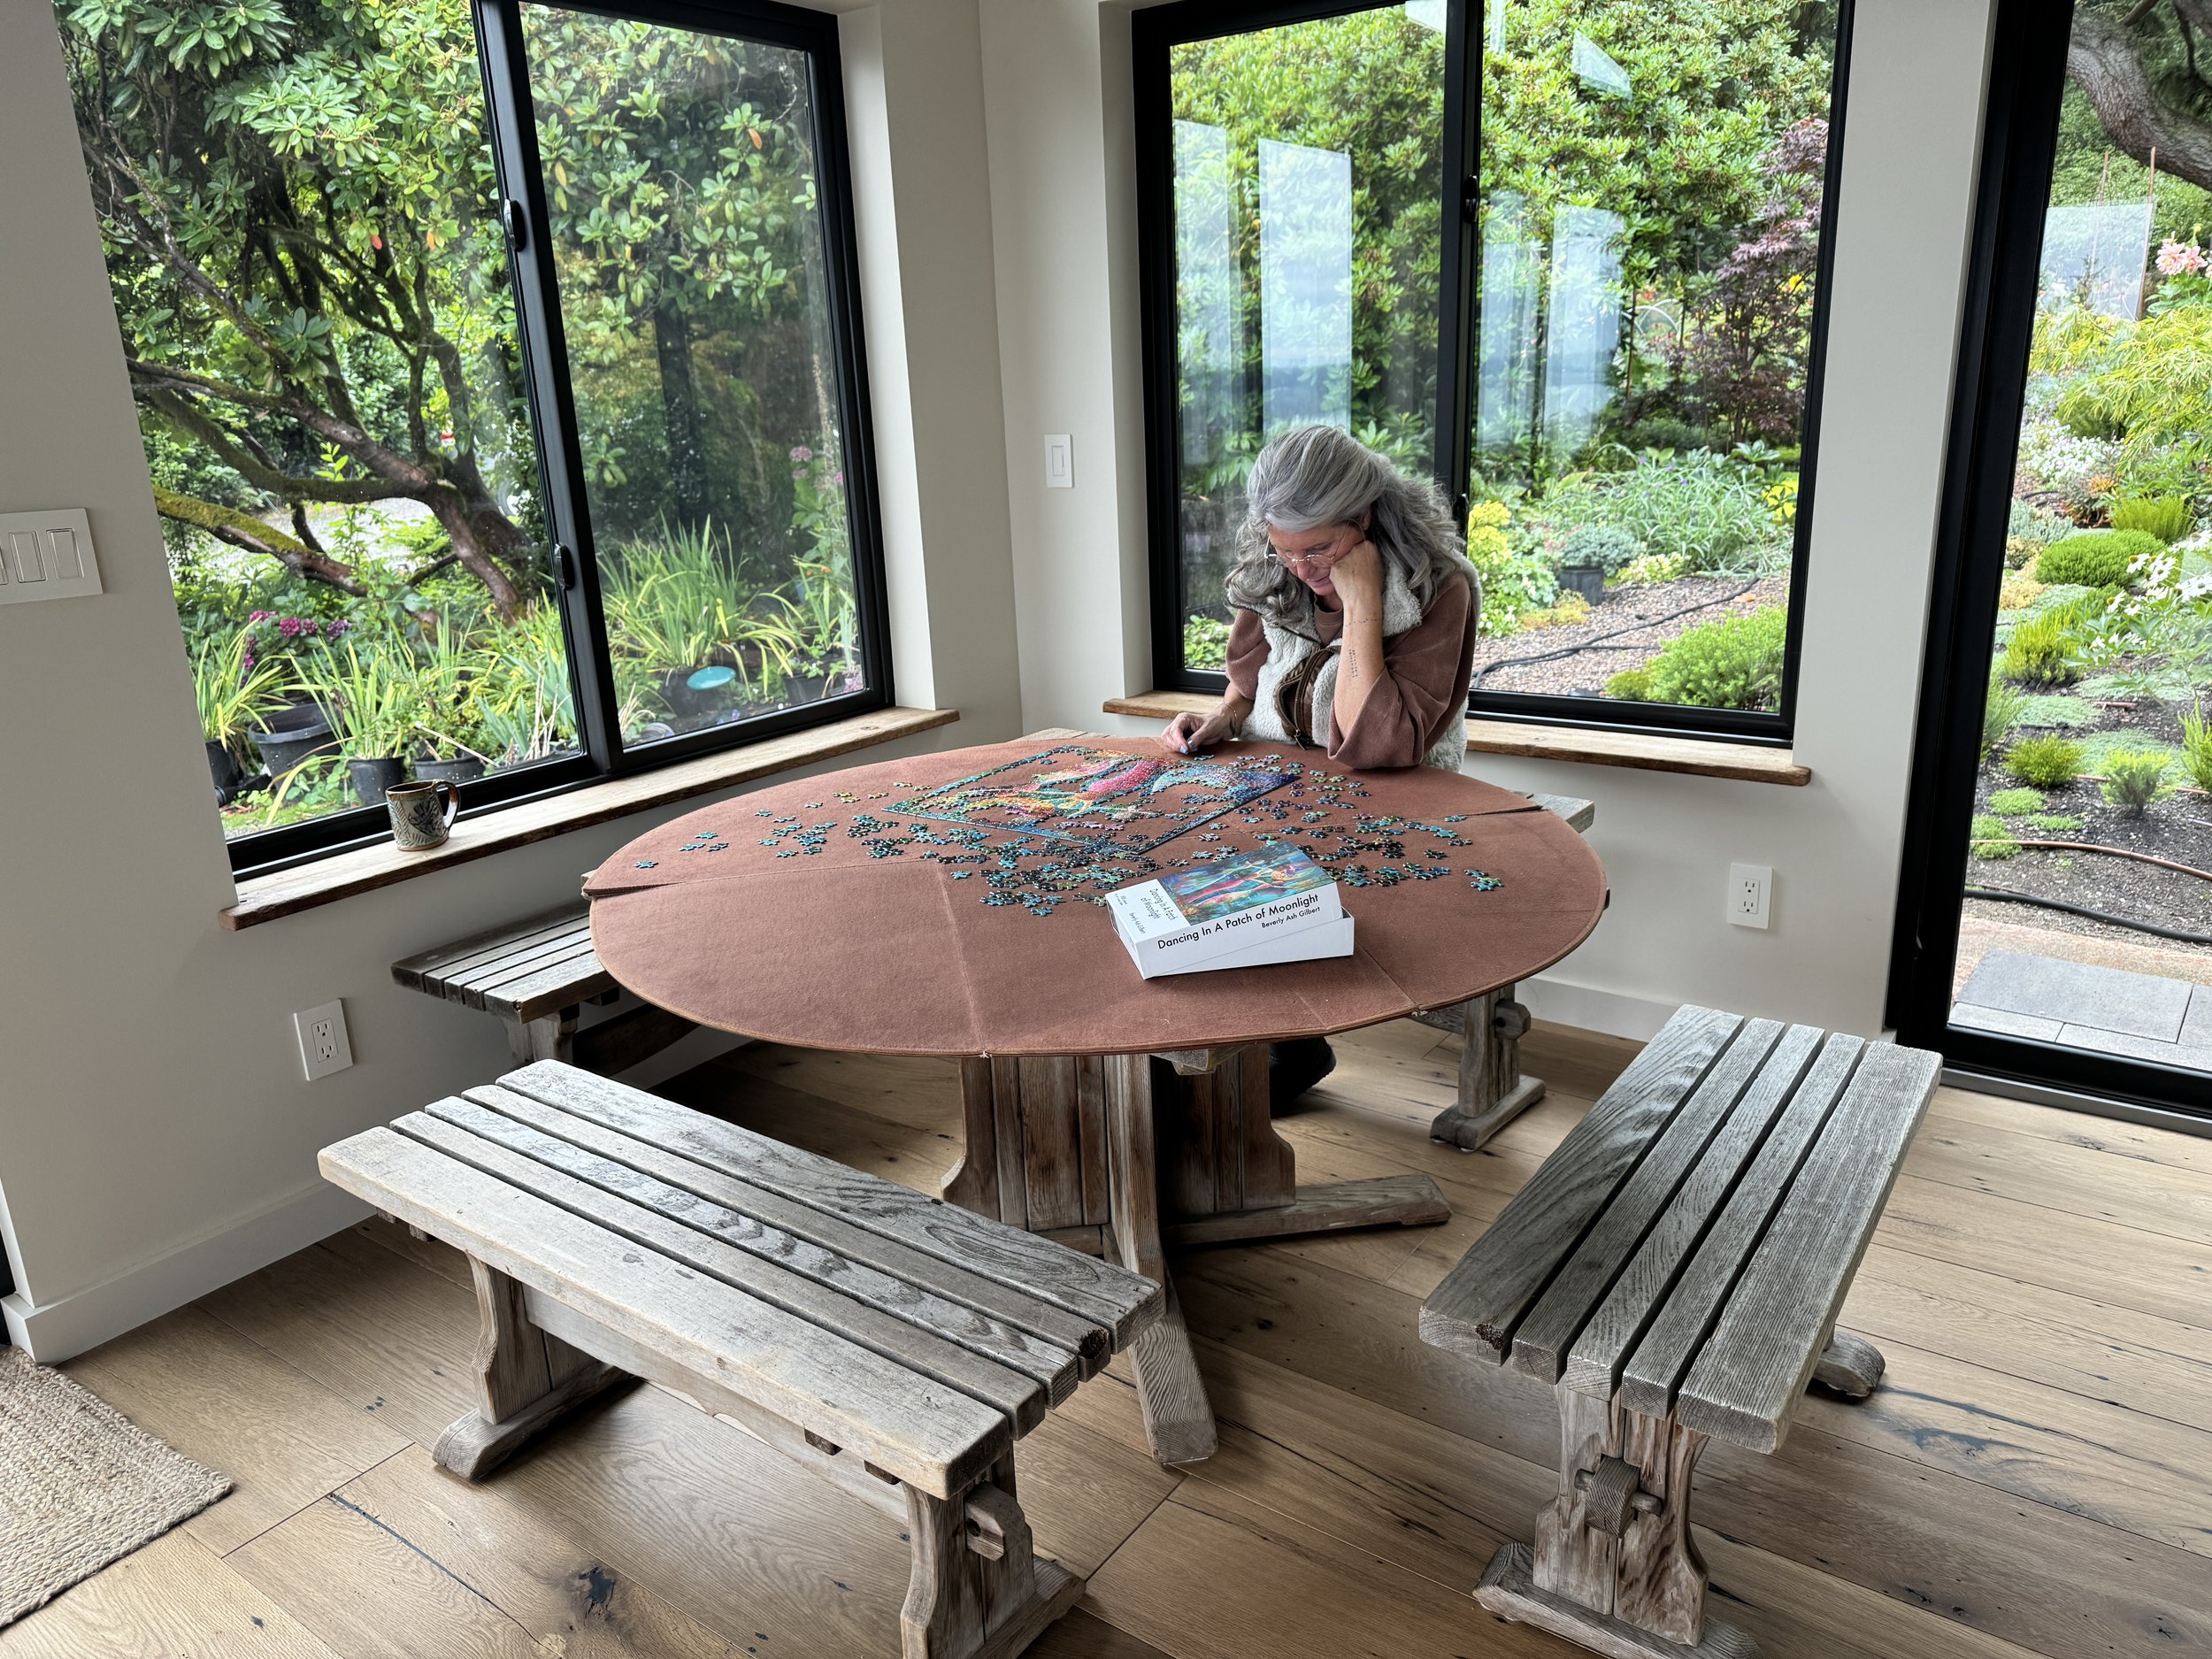
My bestie, Dagmar making a puzzle
All that was needed was some cushions covered with old Turkish rugs on the hard wood benches to make it cozy when I sit for hours writing.

I scattered more pillows covered with old Turkish rugs on the sofa

A fabulous find - mid century McGuire chairs found in an antique store online, coupled with some sea grass poufs from CB2 make the perfect reading spot. I decided to use more of the Turkish pillow covers (this time without pillows) as cat-friendly spots to sit.

The girls approve

I love using large sea-grass baskets for pillows, blankets… and yes, cats

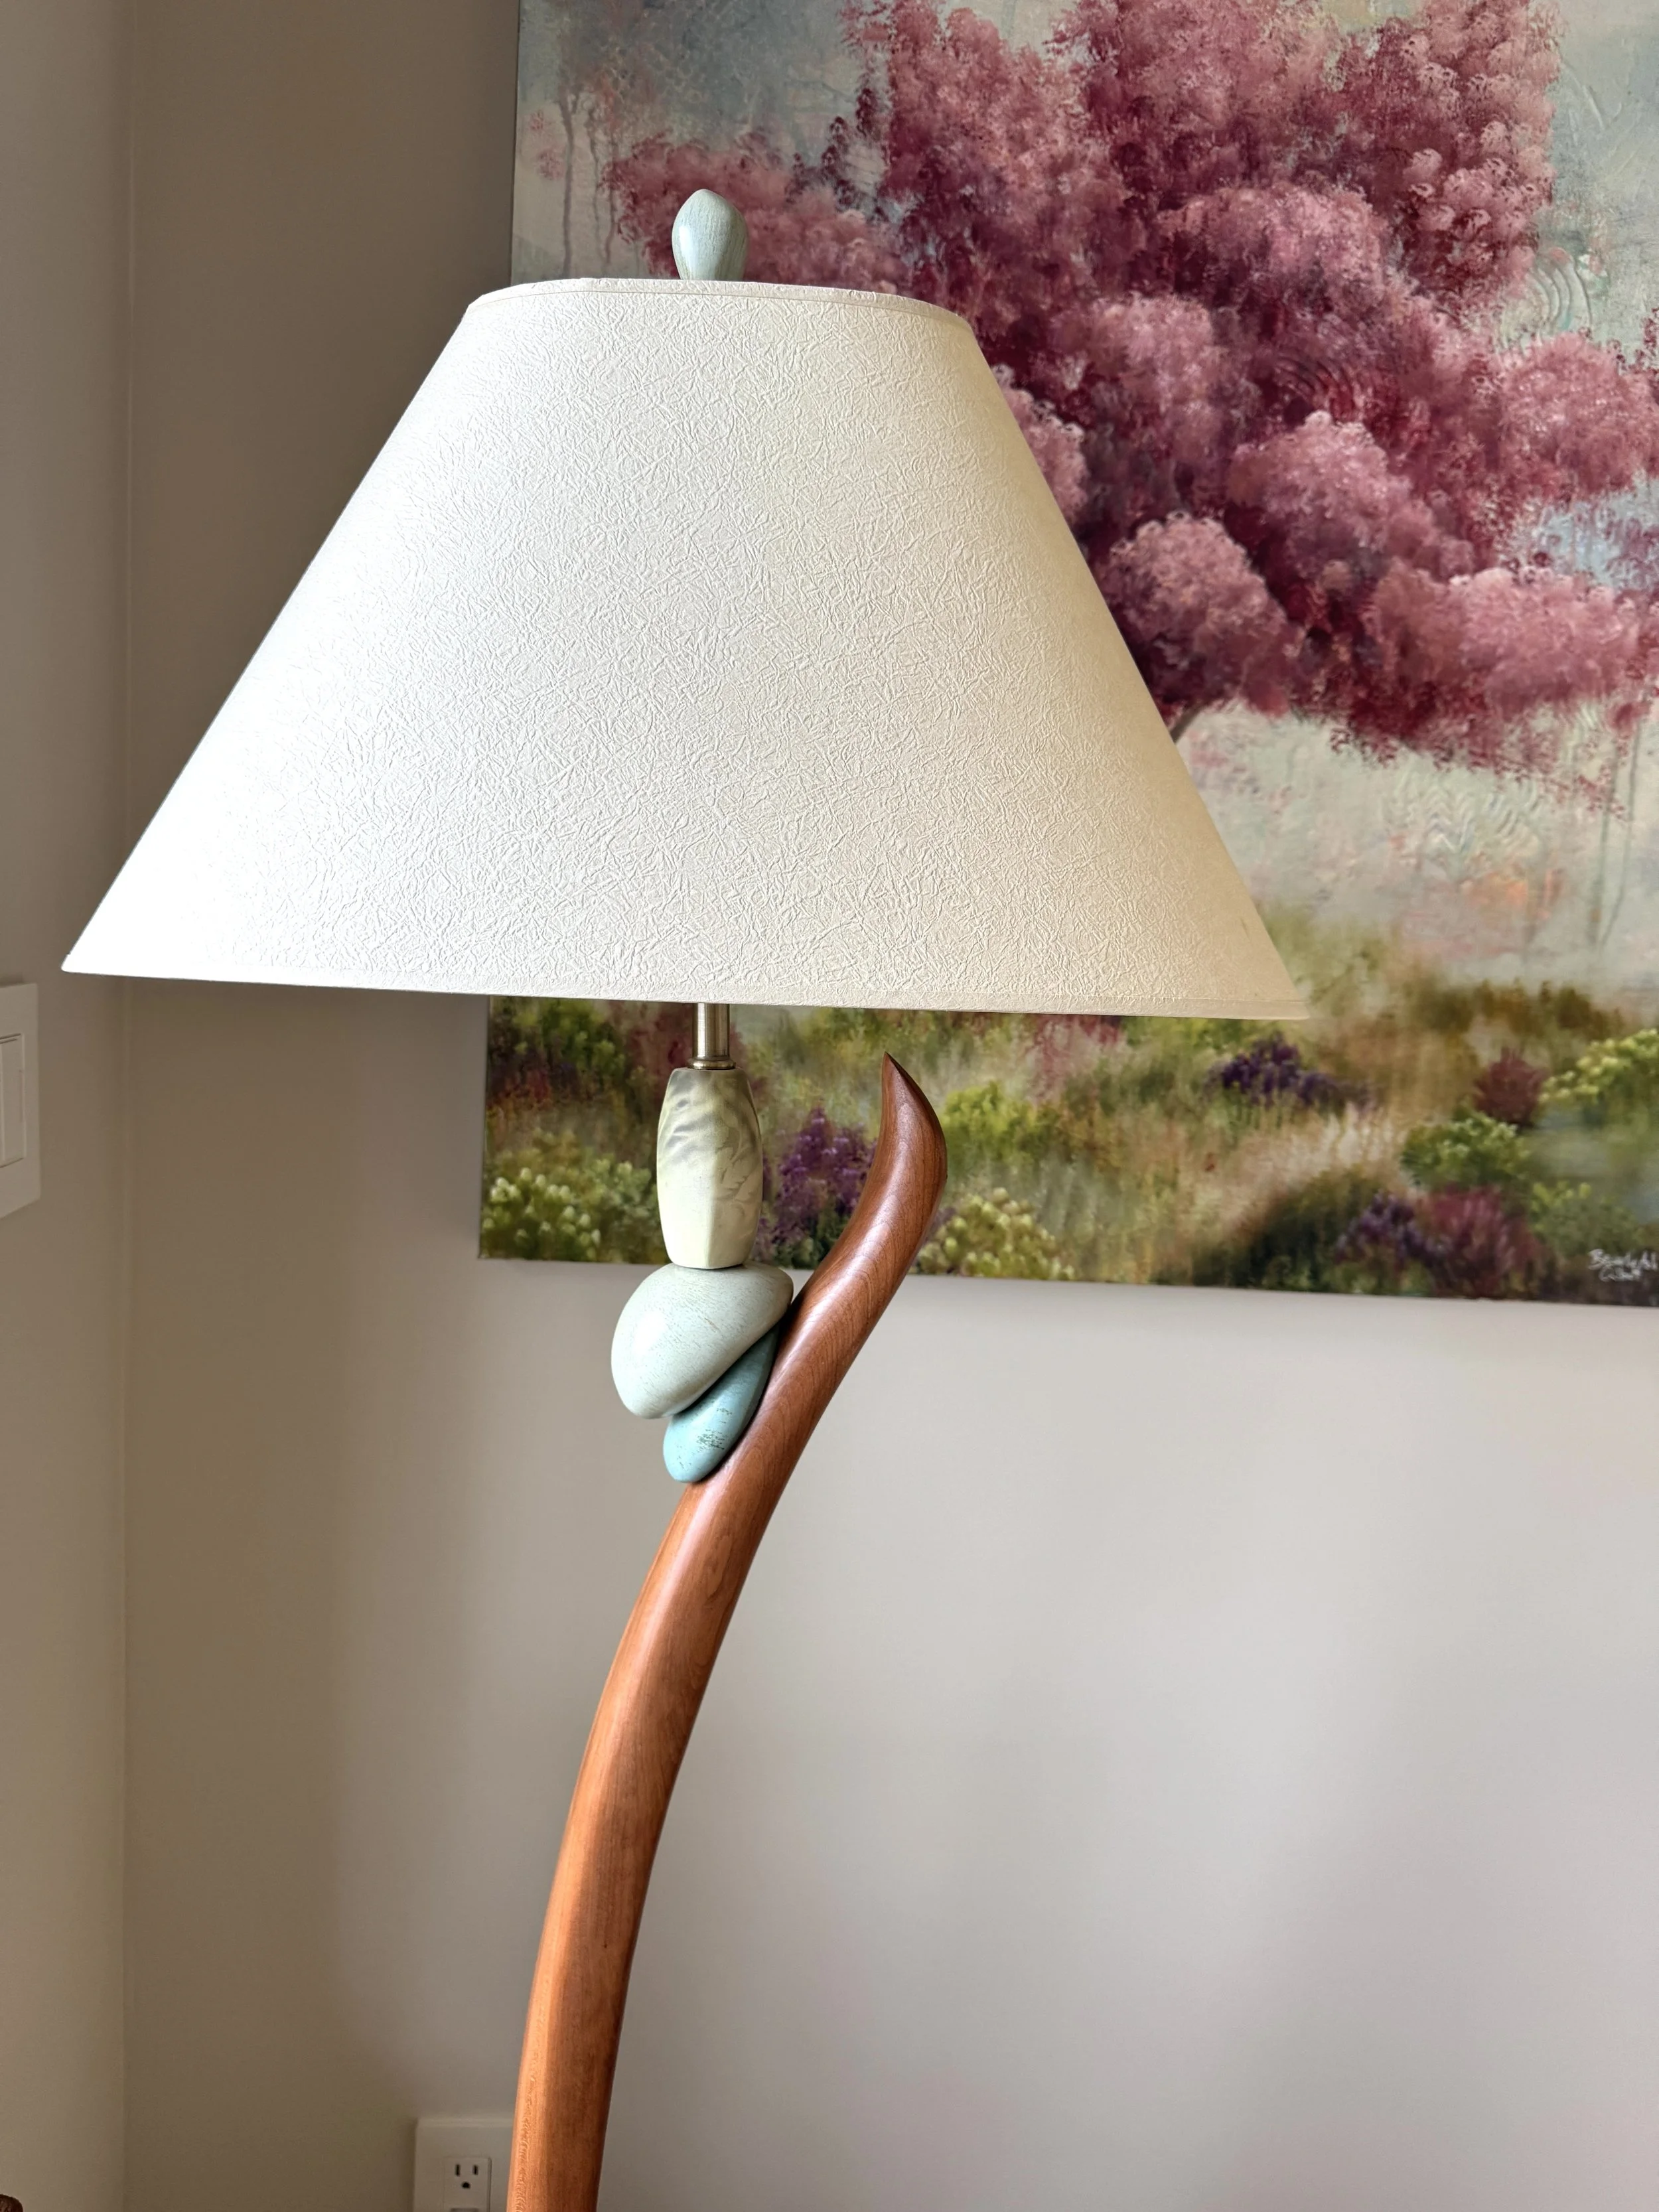
I commissioned a floor lamp in colors that flowed beautifully with my beach theme
Speaking of lights, I found this pendant at a sweet little store in Langley, Whidbey Island. And knew it was exactly what I was looking for over the table.

When my parent’s old, but fabulously comfortable, sofas came to me, my girlfriend suggested we arrange them in the center for a conversation area coupled with a rug that used to be in my office. Their mid century teak coffee table also works perfectly in the space.


I absolutely love the space - soft, serene, beachy and a fabulous backdrop for any color of art I’m in the mood to create!
My wall easel system for painting
Of course… it’s all about creating art! So here is a glimpse of my art corner - complete with a wall easel system my hubby created that can be assembled or disassembled in minutes. The key to his unique design is that it enables me to easily switch from art-creating center to art-display wall.

The entire system can be removed and easily stored in my canvas closet
The board on top is the only permanent piece - it has a french cleat at the top so the frames can be lifted and moved. Plus hooks at the bottom to hang a plastic-backed drop cloth which protects the wall.

Here’s my canvas storage closet - again my hubby built it for me to house finished paintings (waiting for their new home!) plus empty canvases and supplies for all my other creative endeavors!

Leave a comment below if you have any questions - or want to know where I found my materials and I’ll dig up the sources for you!
Thanks to:
Interior decor advise from Dagmar Fleuren of Linen & Wood Interior
Studio construction by Harrison Homes
More photos of our Studio and Pond:


Large pots are a fabulous way to provide focal points in a cottage garden