How to make jewelry from old calendars
I admit it – I have a hard time throwing out old calendars, especially ones swirling with colors I love. But what to do with a drawer full of past years? Boy do I have the answer for you
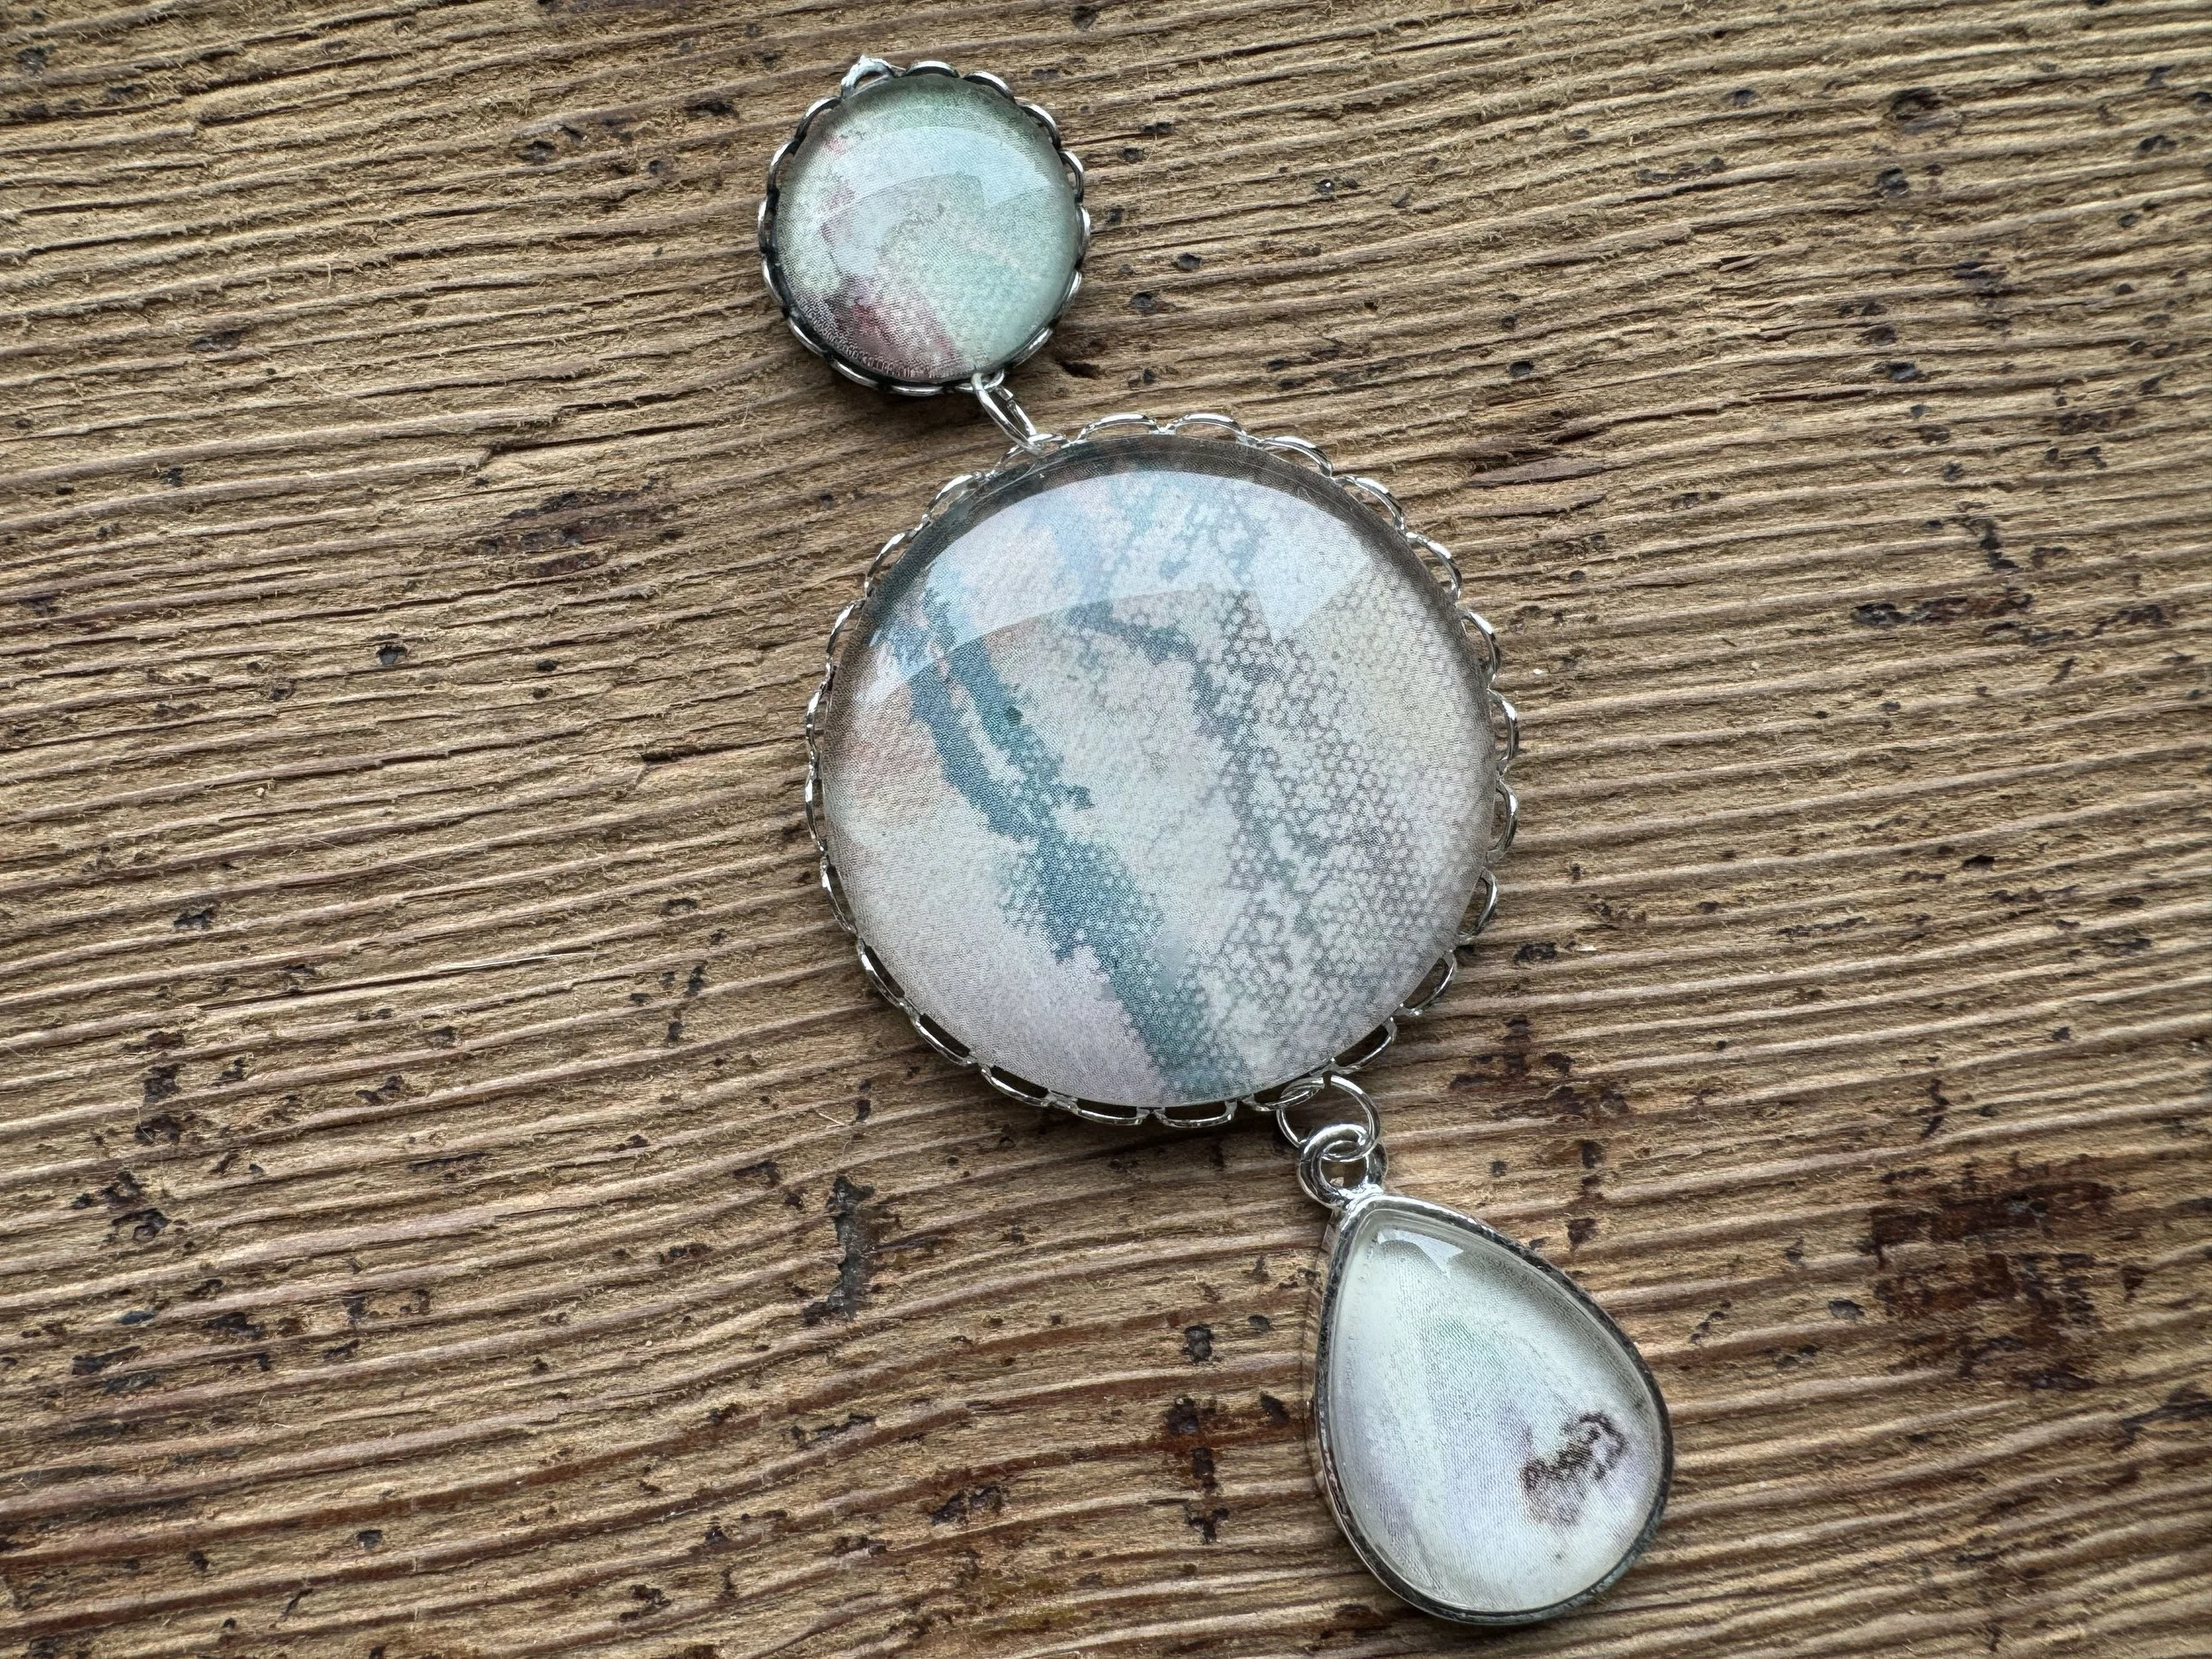
Upcycle your favorite calendars into colorful jewelry!
It’s so darn easy and what a fabulous way to spend an afternoon with good friends. All you need is an art calendar, some basic craft supplies and voila – stunning jewelry that I guarantee everyone will love!
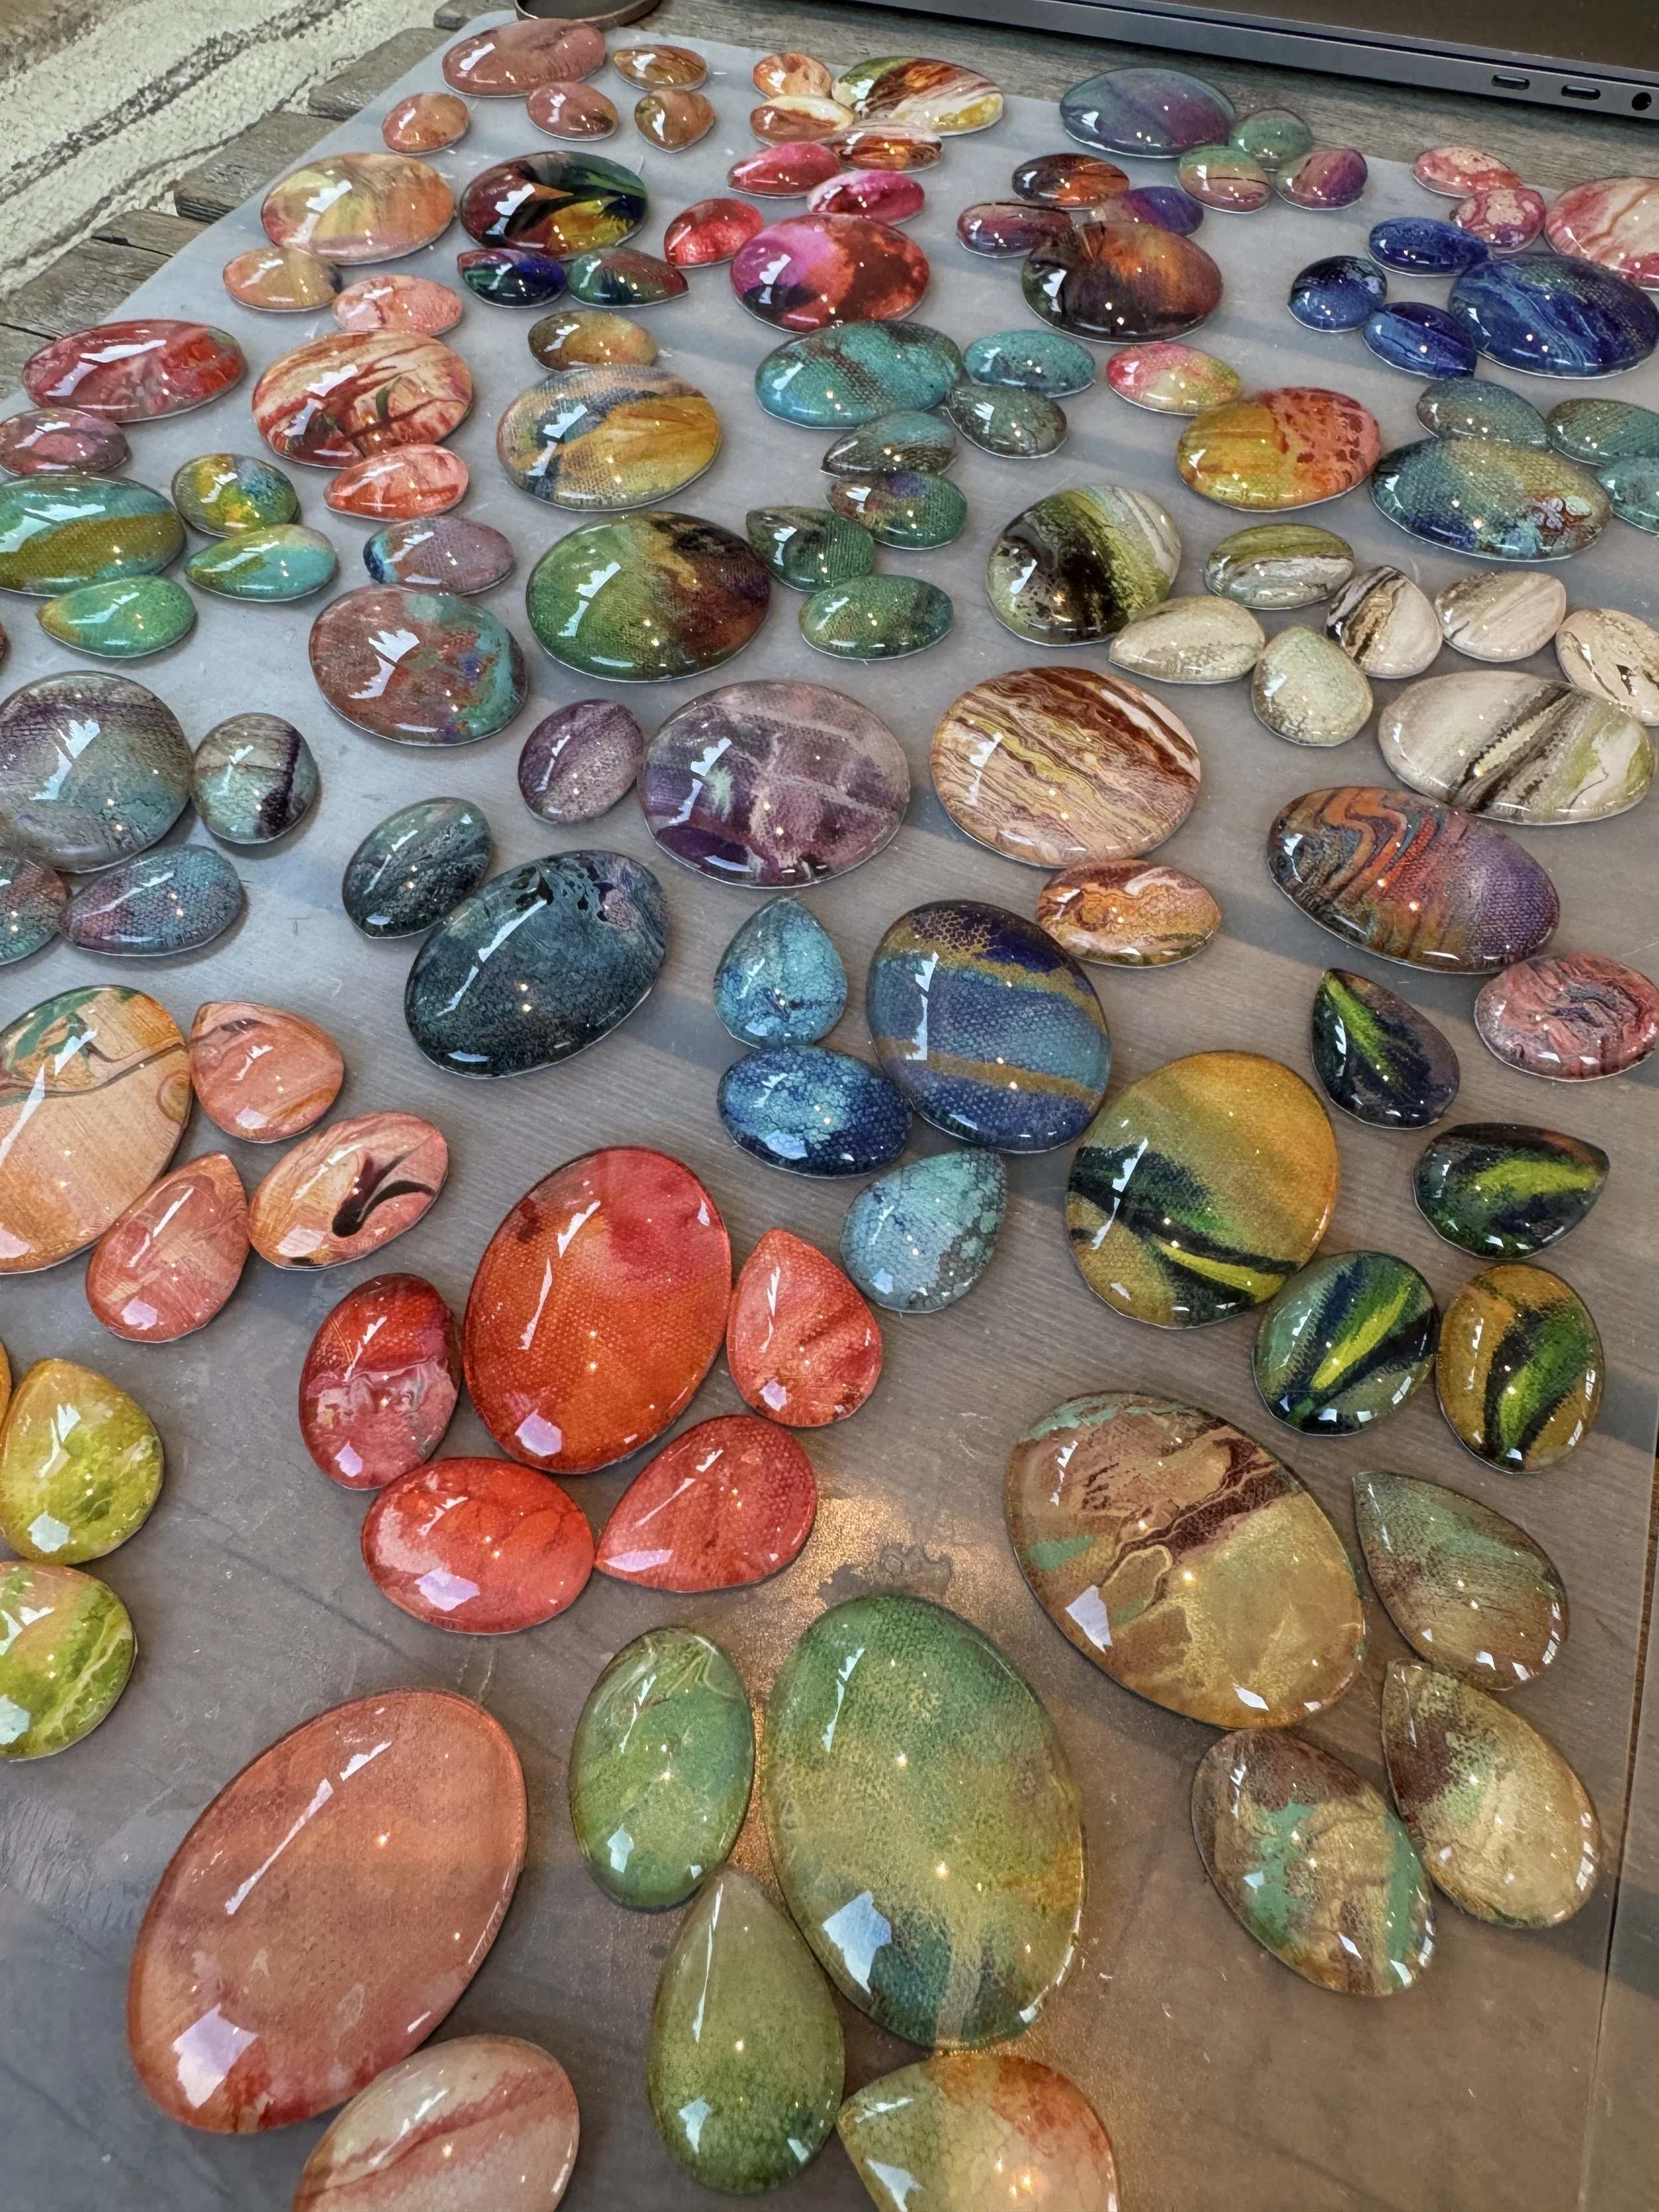
Oh my goodness, look at all the color!


How to make your jewelry
It’s so darn easy, the hardest part is figuring out which luscious pieces of color you want!
Jewelry set from art print: Colored Daisies
Supplies
Here’s what you’ll need:
A Colorful calendar (I’ve got you covered on this one)
Glass cabochon (etsy has just the thing)
size and shape is up to you, but make sure you find a cabochon tray to match
Cabochon tray
pendants are lovely for simple necklaces and earrings, or choose filigree edges if you want to attach pieces together into a more complex piece (you will need jump rings for this option)
Sharp pencil
Scissors or Exacto knife
Silicone mat (THIS is what I use)
Diamond Glaze
E-6000 glue
Tooth picks
Moist rag
Jump rings (optional)
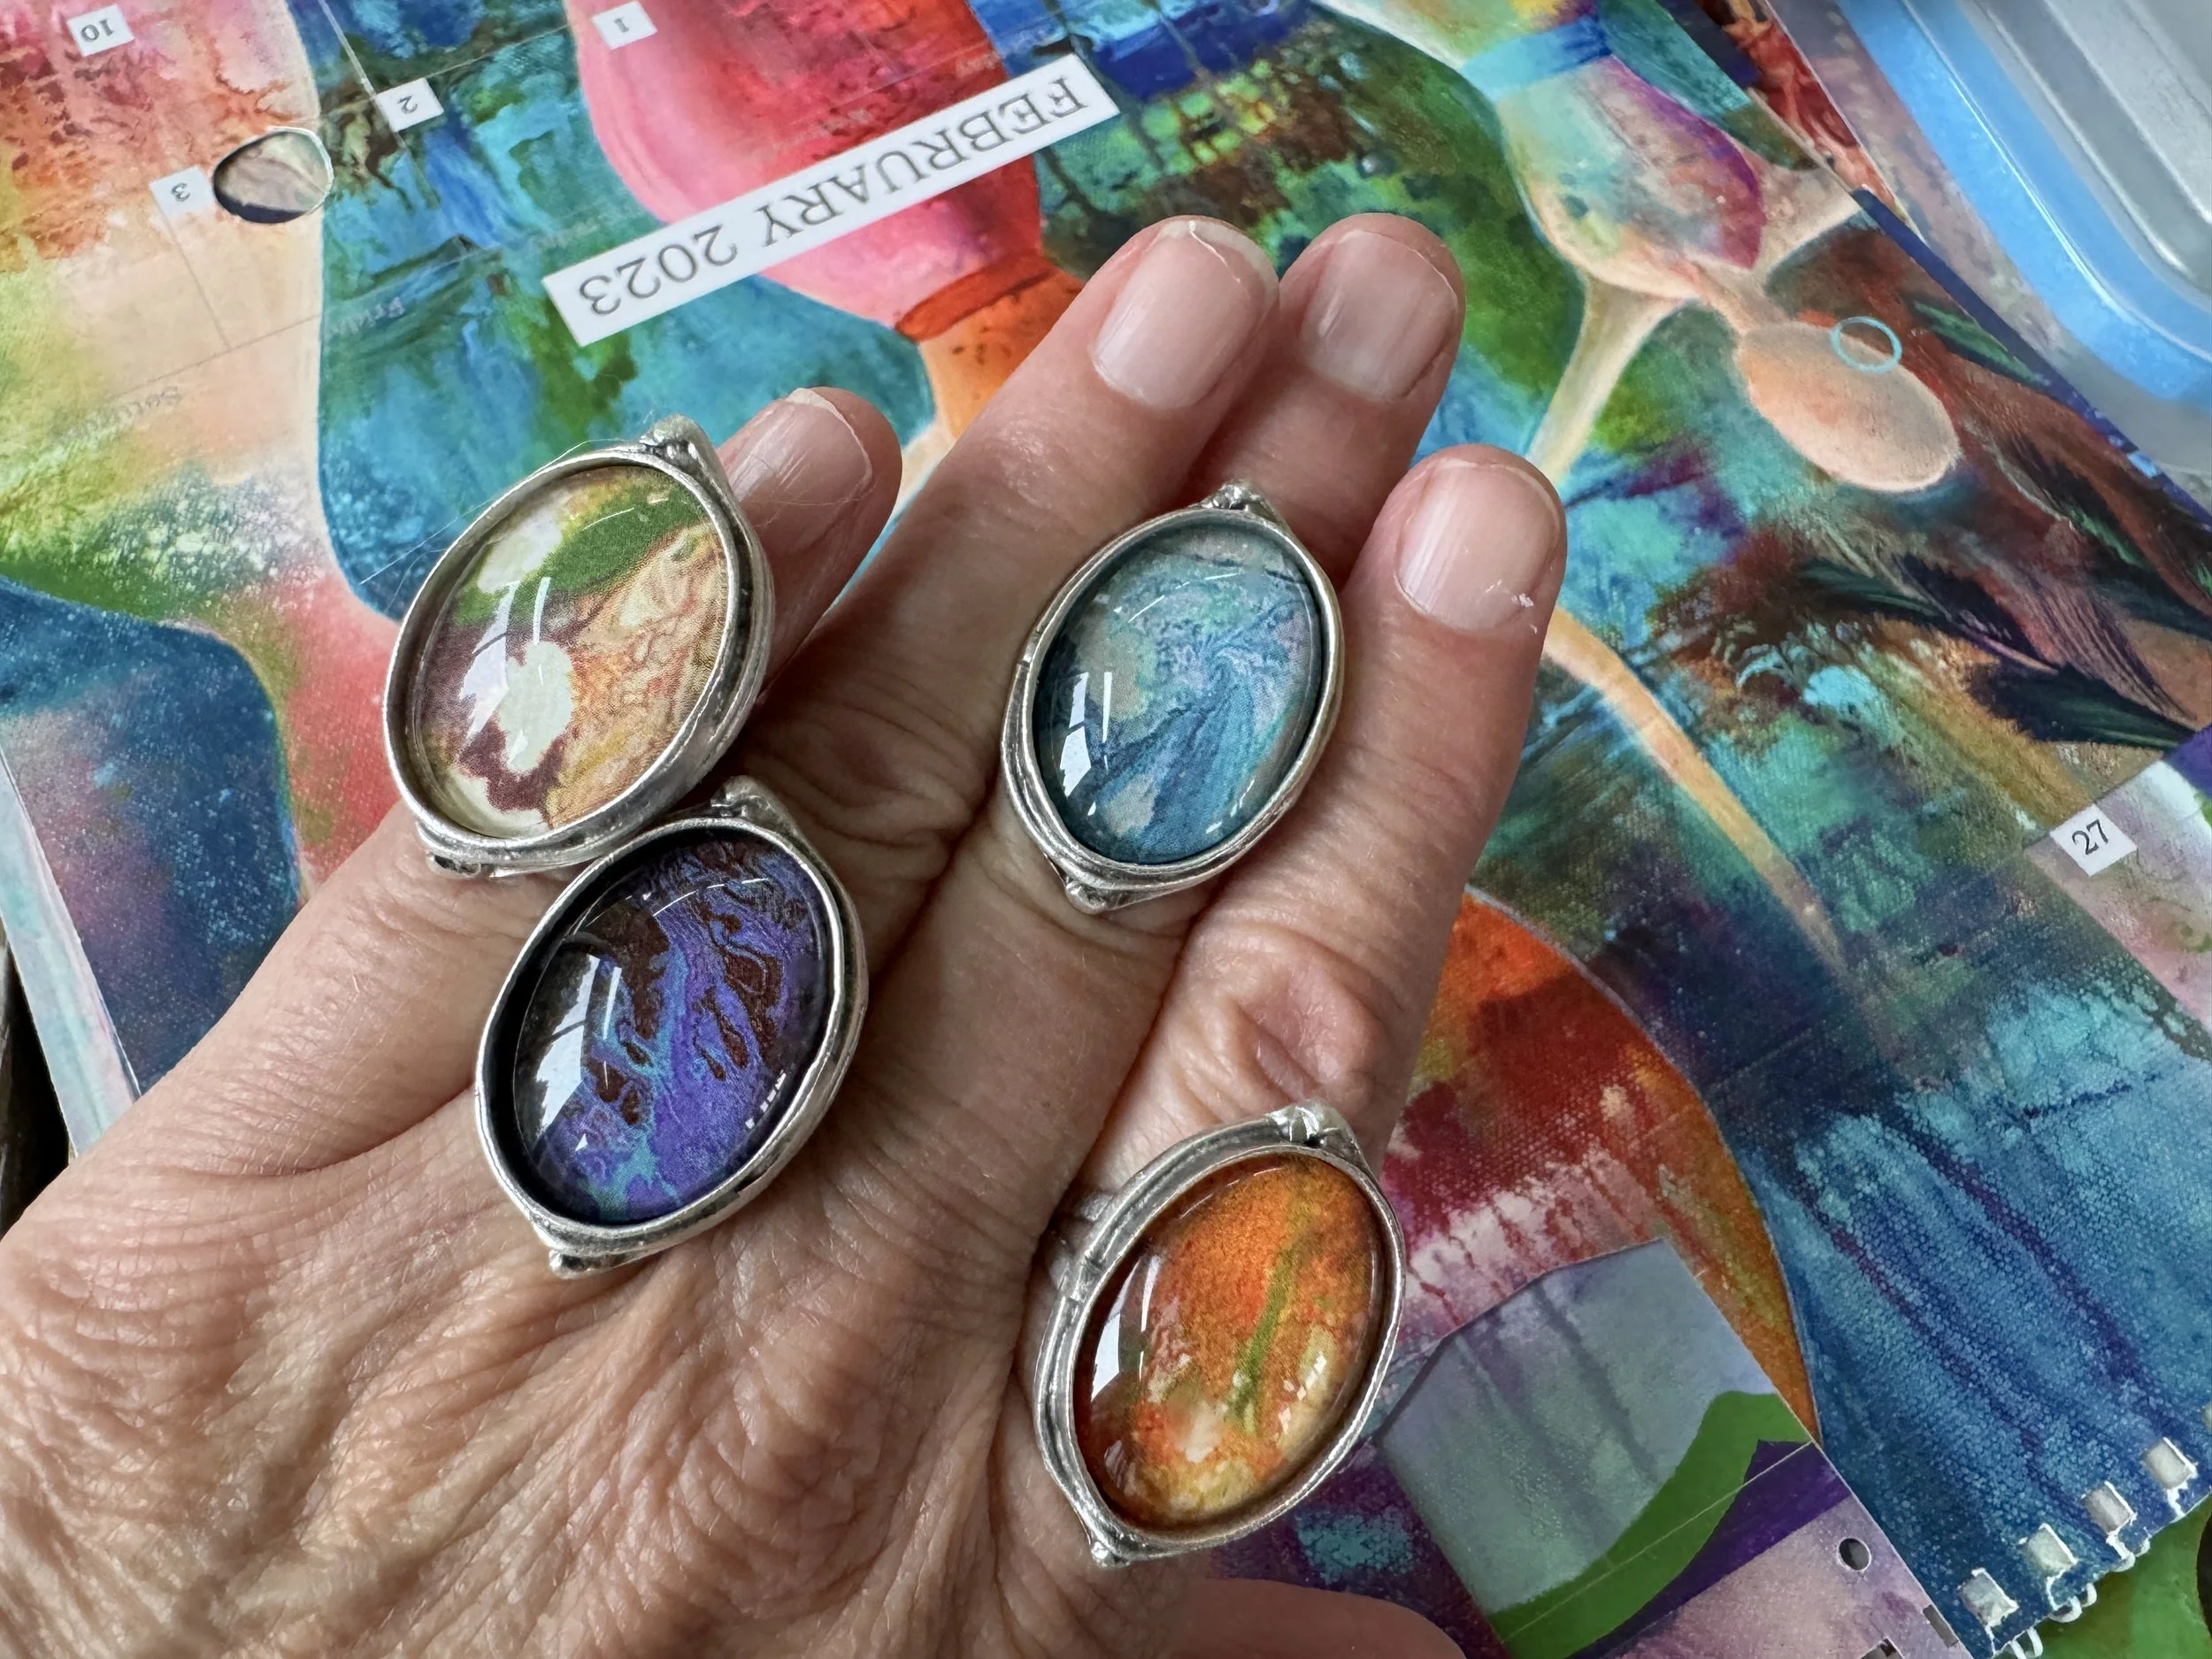
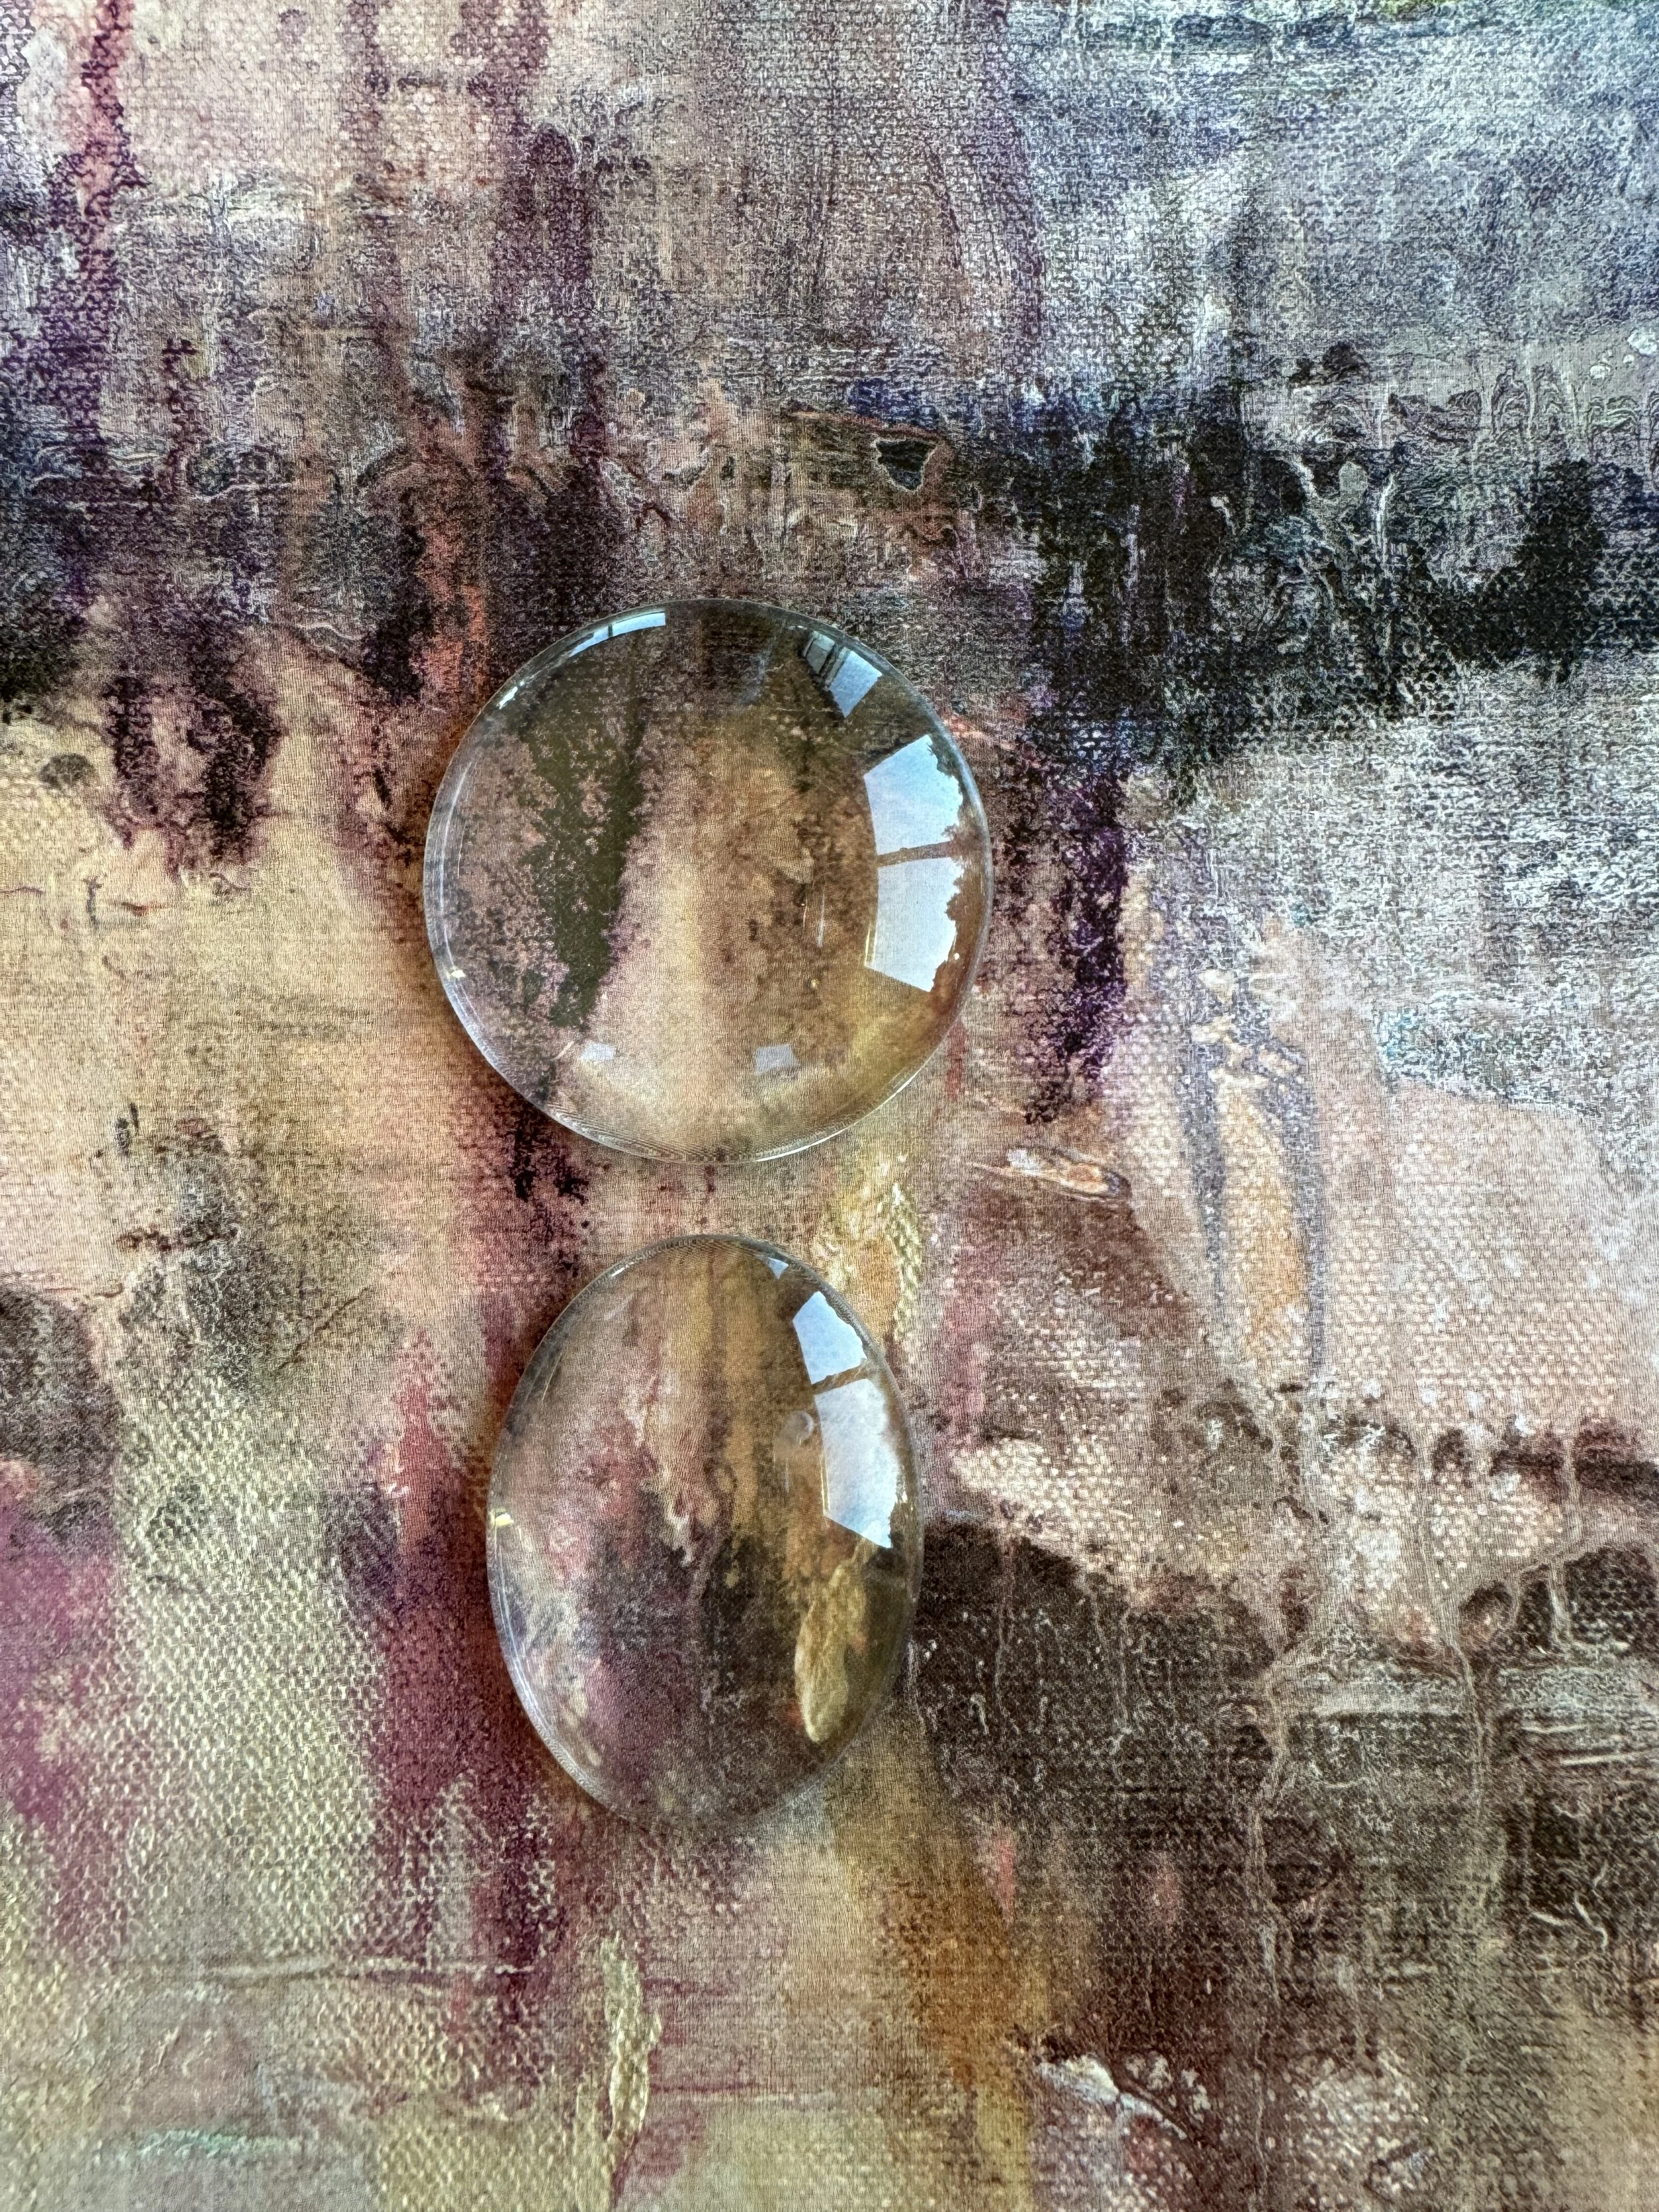
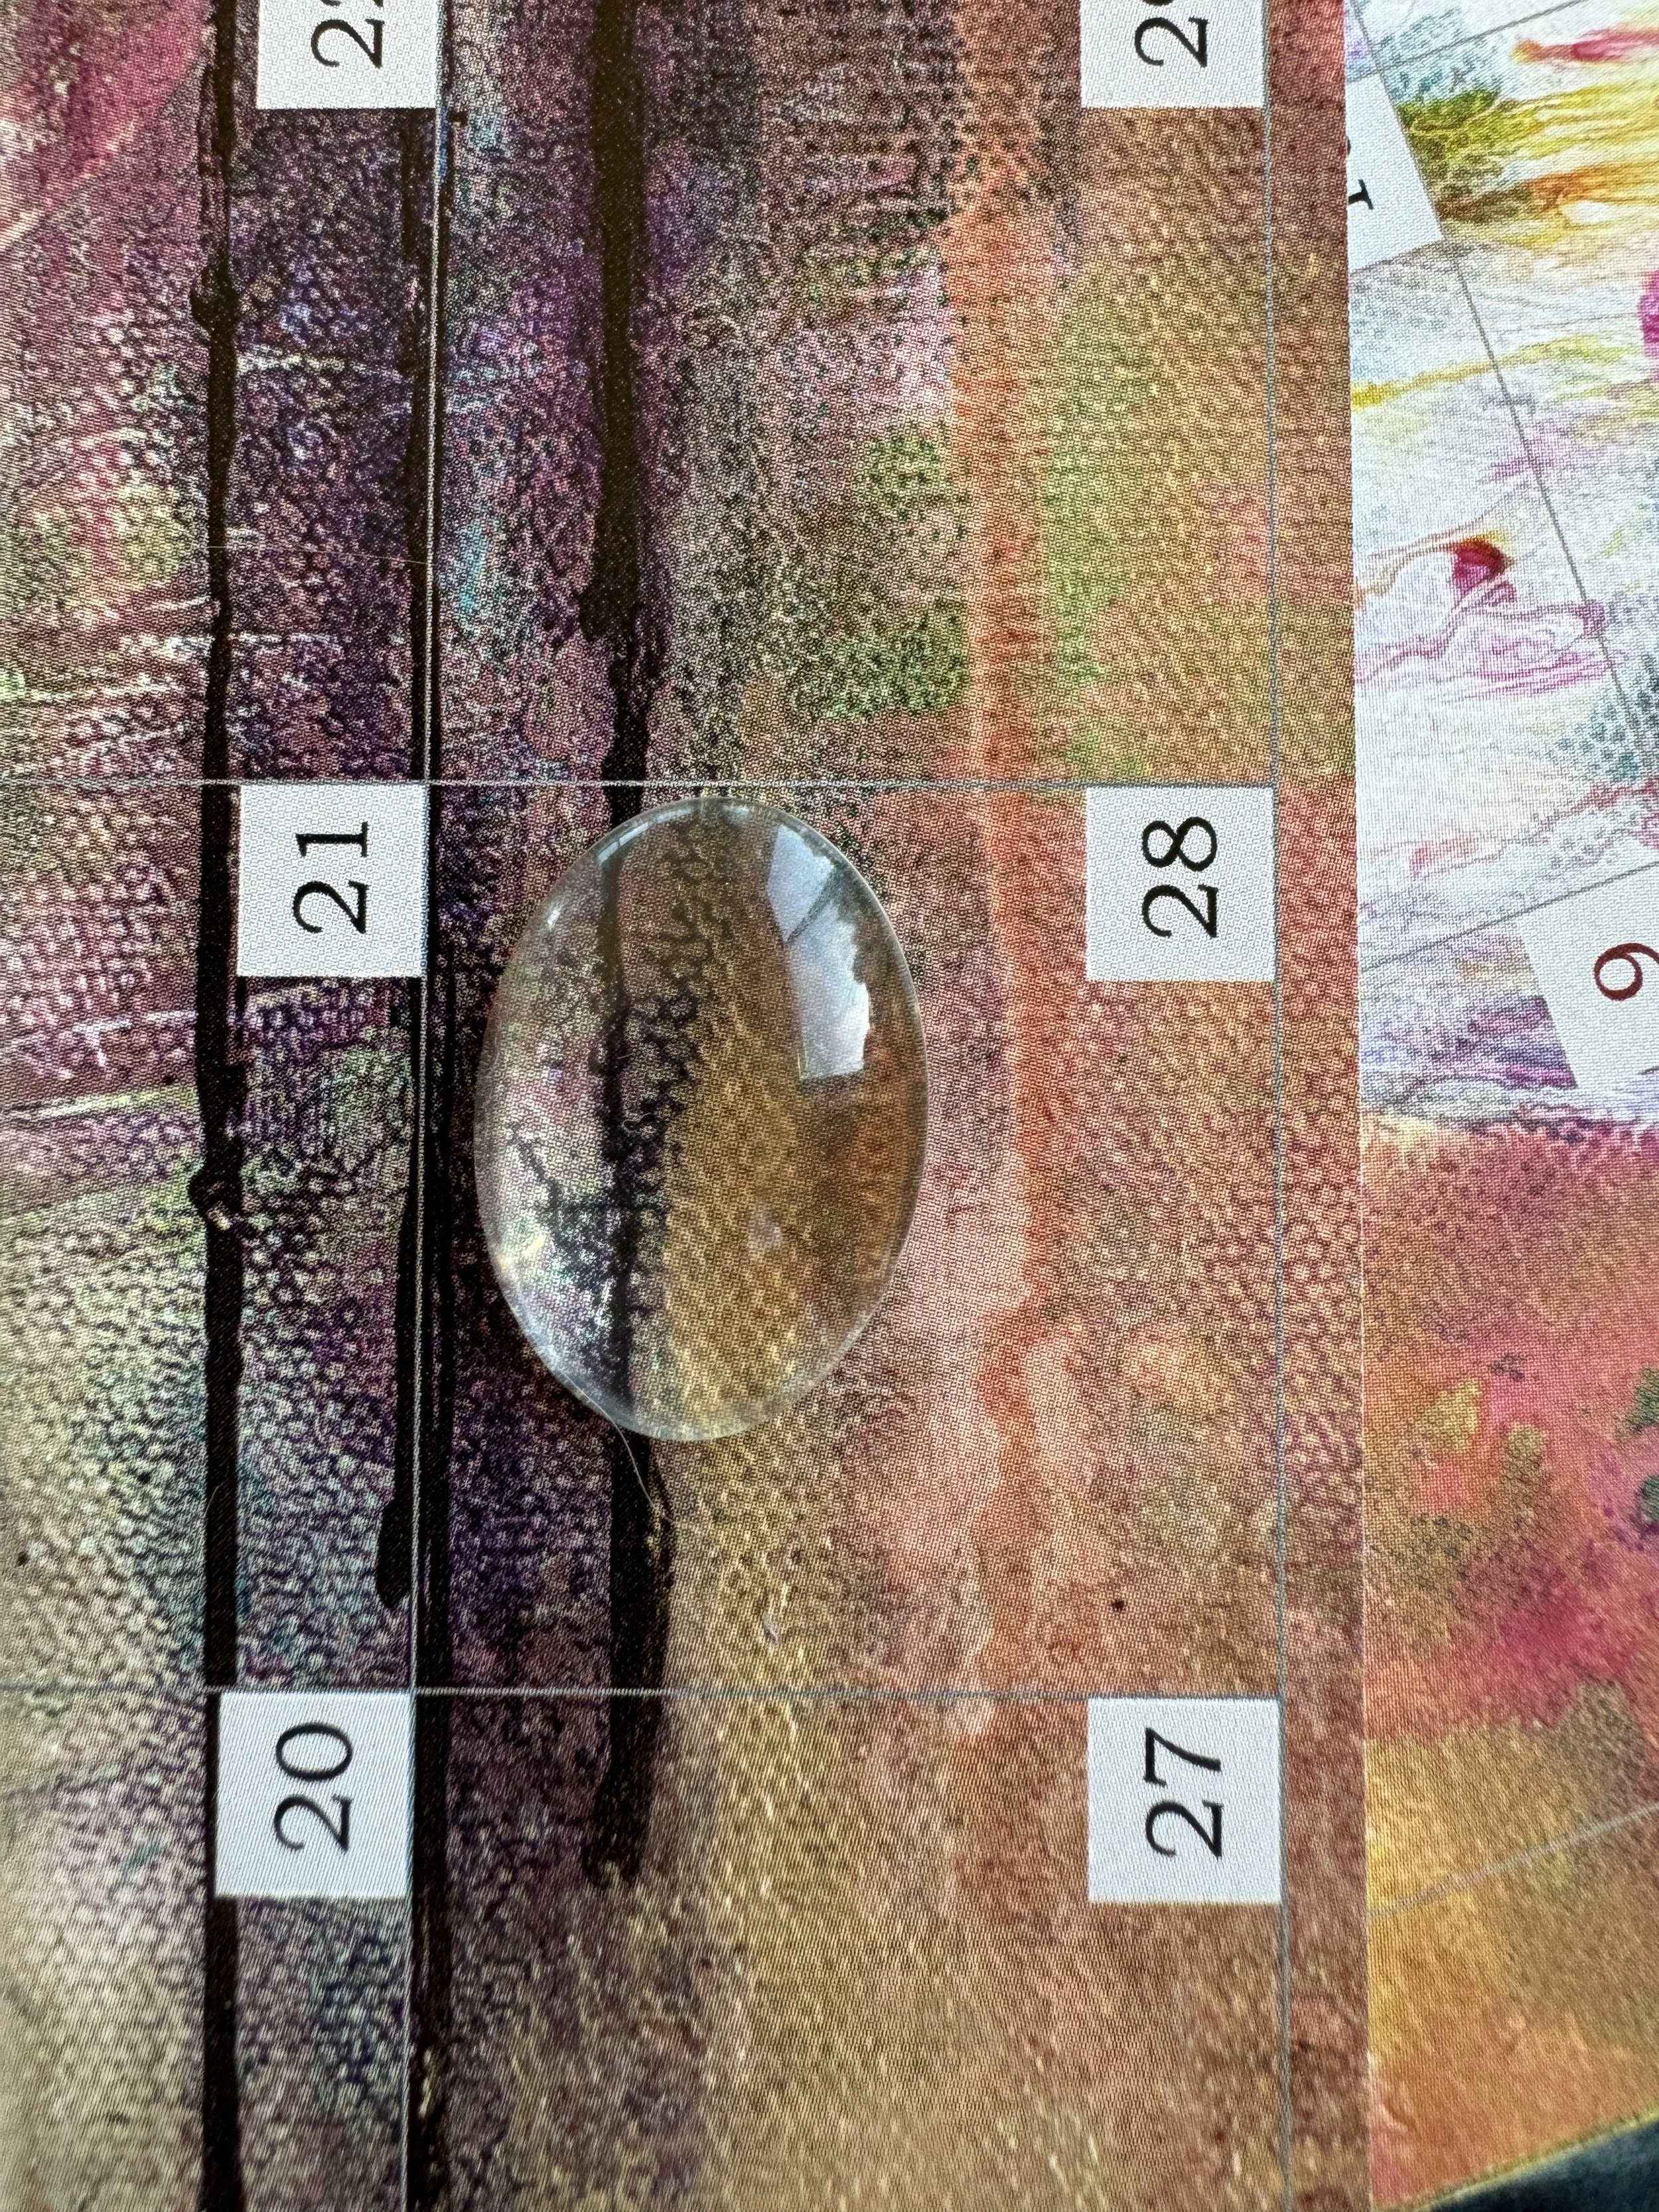
Step 1: Move glass cabachons around the pages until you find spot you love
It helps to place multiple glass cabachons on the calendar at the same time
Little pieces between the dates are perfect for earrings, connectors etc like this 25x18 oval cab that I plan to turn into a ring
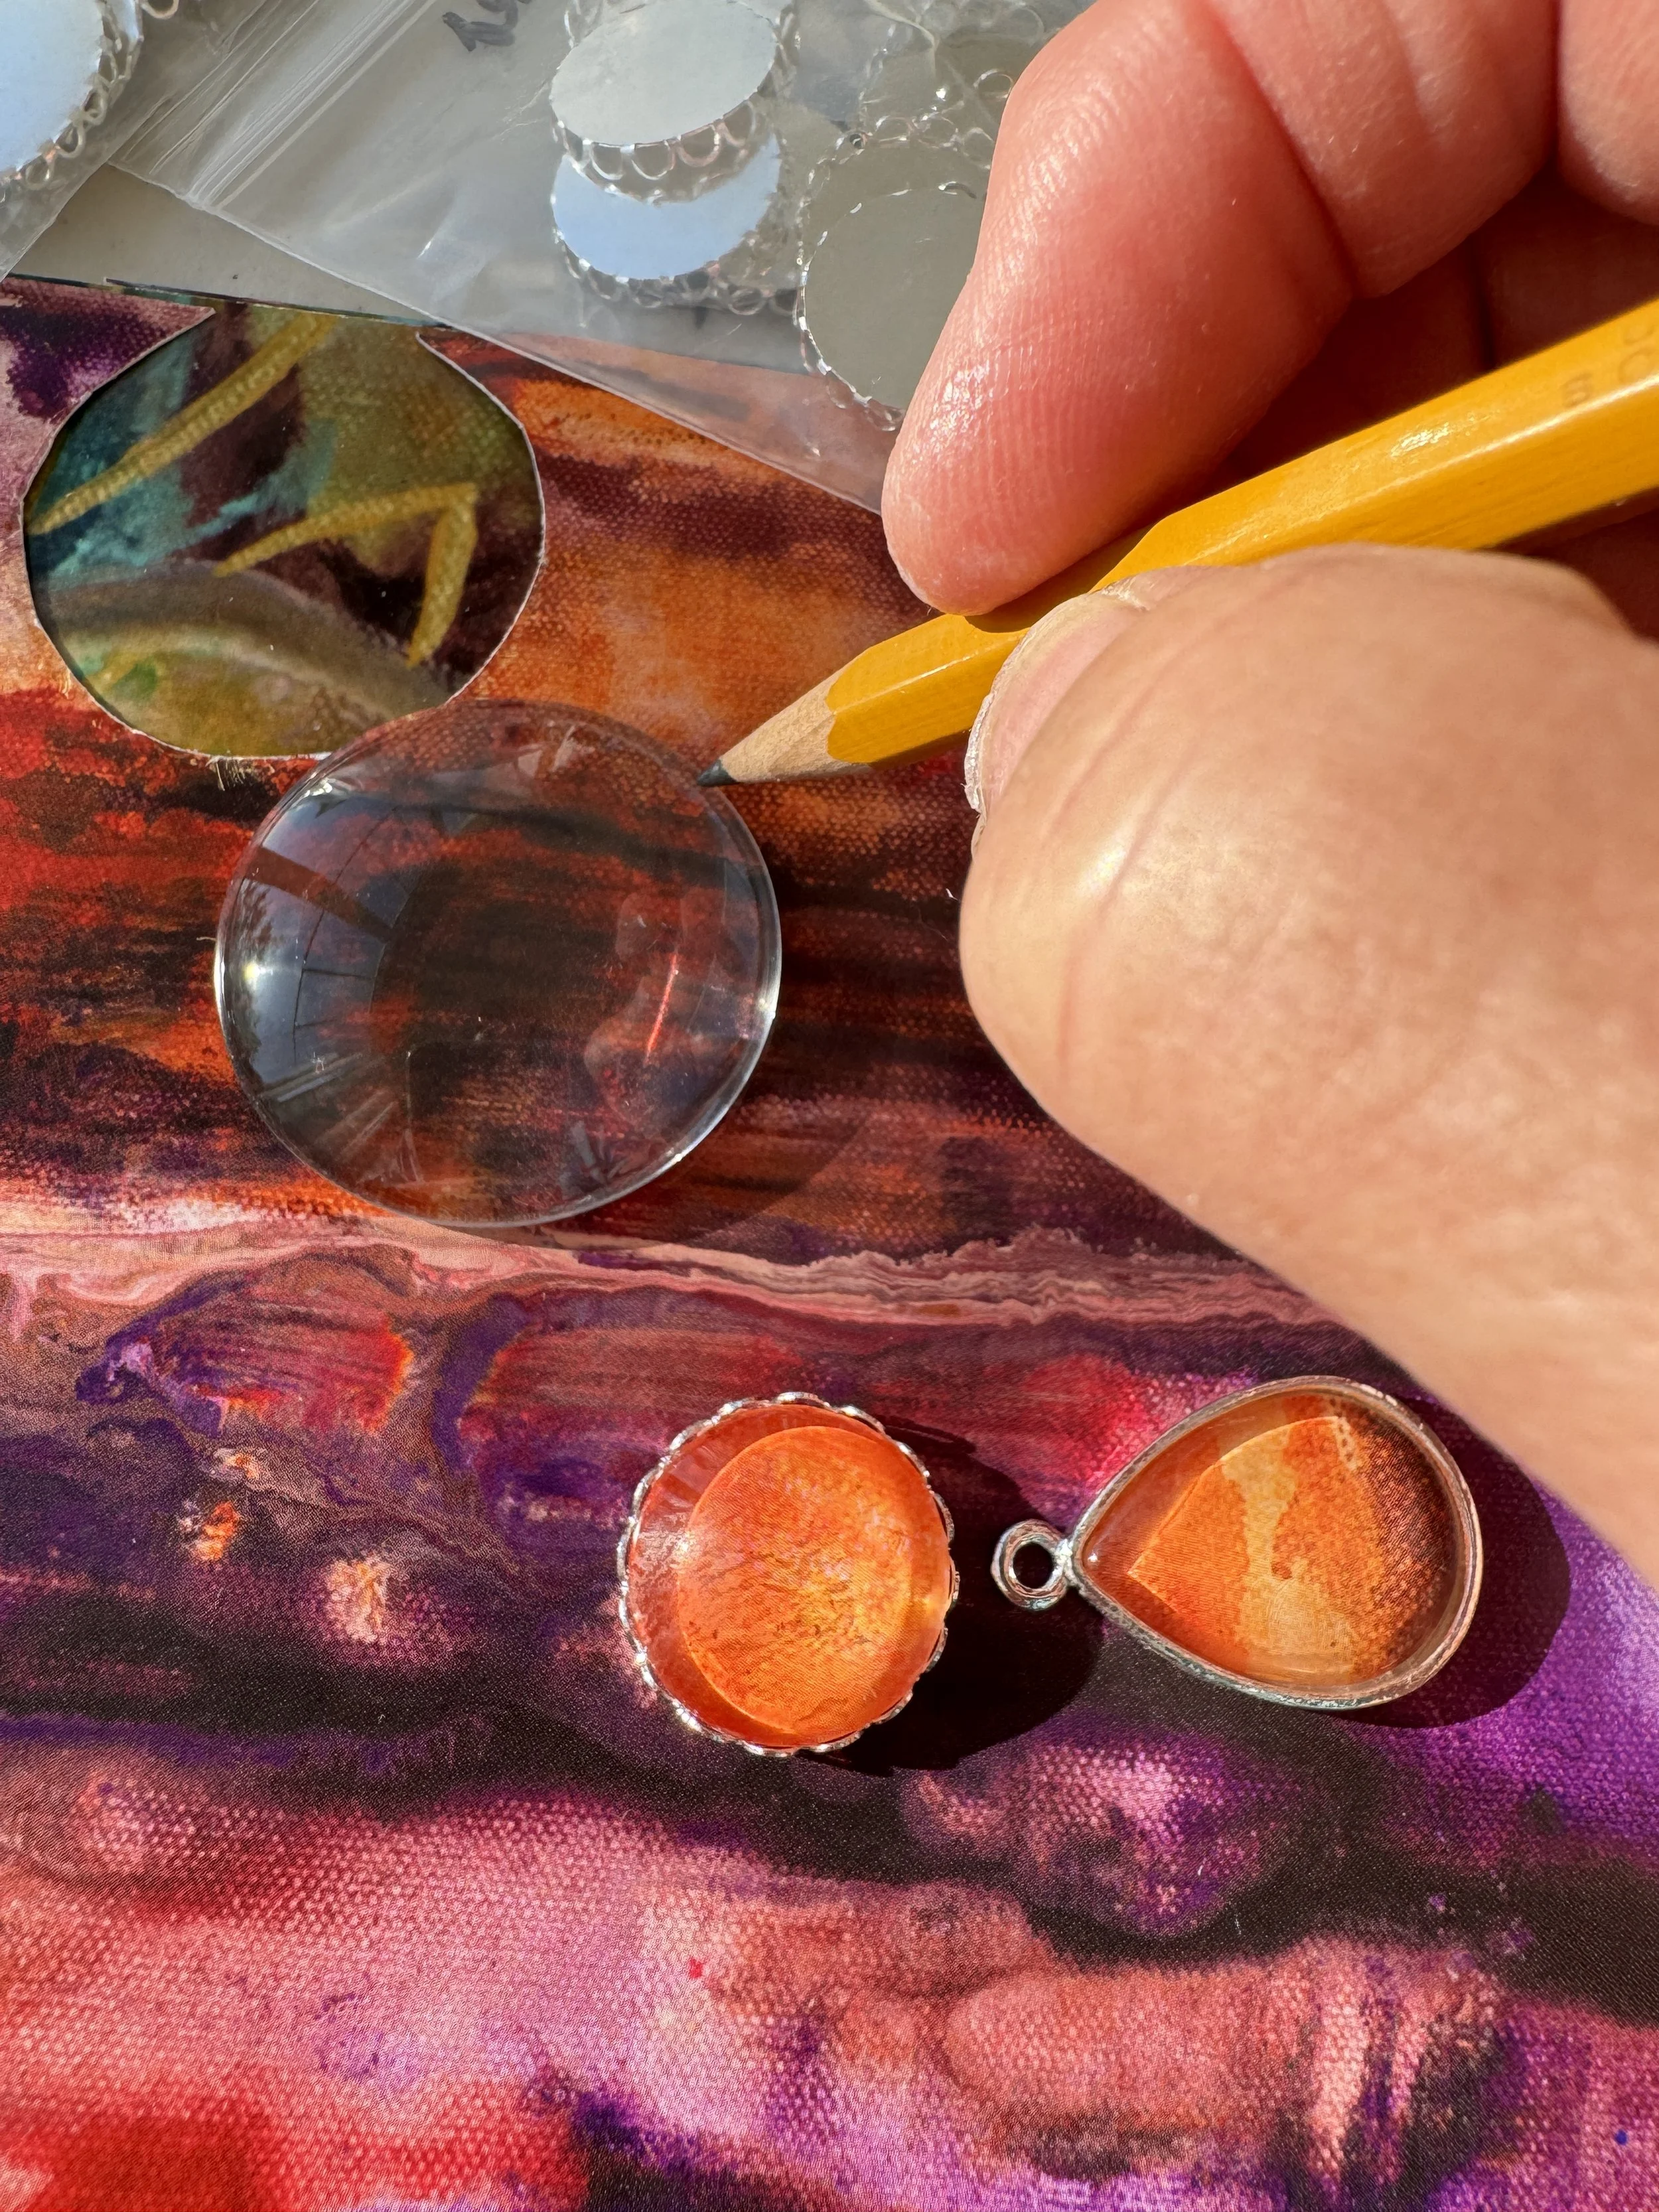
Step 2. Once you find spots you love, trace with a pencil, then cut out with sharp scissors or an Exacto knife
Note that when your trace will be larger than the cabachon (by your pencil width), so cut just inside this line

Step 3. Glue image onto cabachon:
Using a toothpick, smear Diamond Glaze over the surface of the paper and cabochon.
Make sure to protect your work table with the silicone mat.
Make sure Diamond Glaze covers all surfaces of both paper and flat side of the cabochon (I use a toothpick or tip of the applicator)
Set paper on top of cabochon then flip over and using slight pressure, force air bubbles out to the edges. Don’t worry about the bulges of glue around the edges - it will easily peal up from the silicone mat.


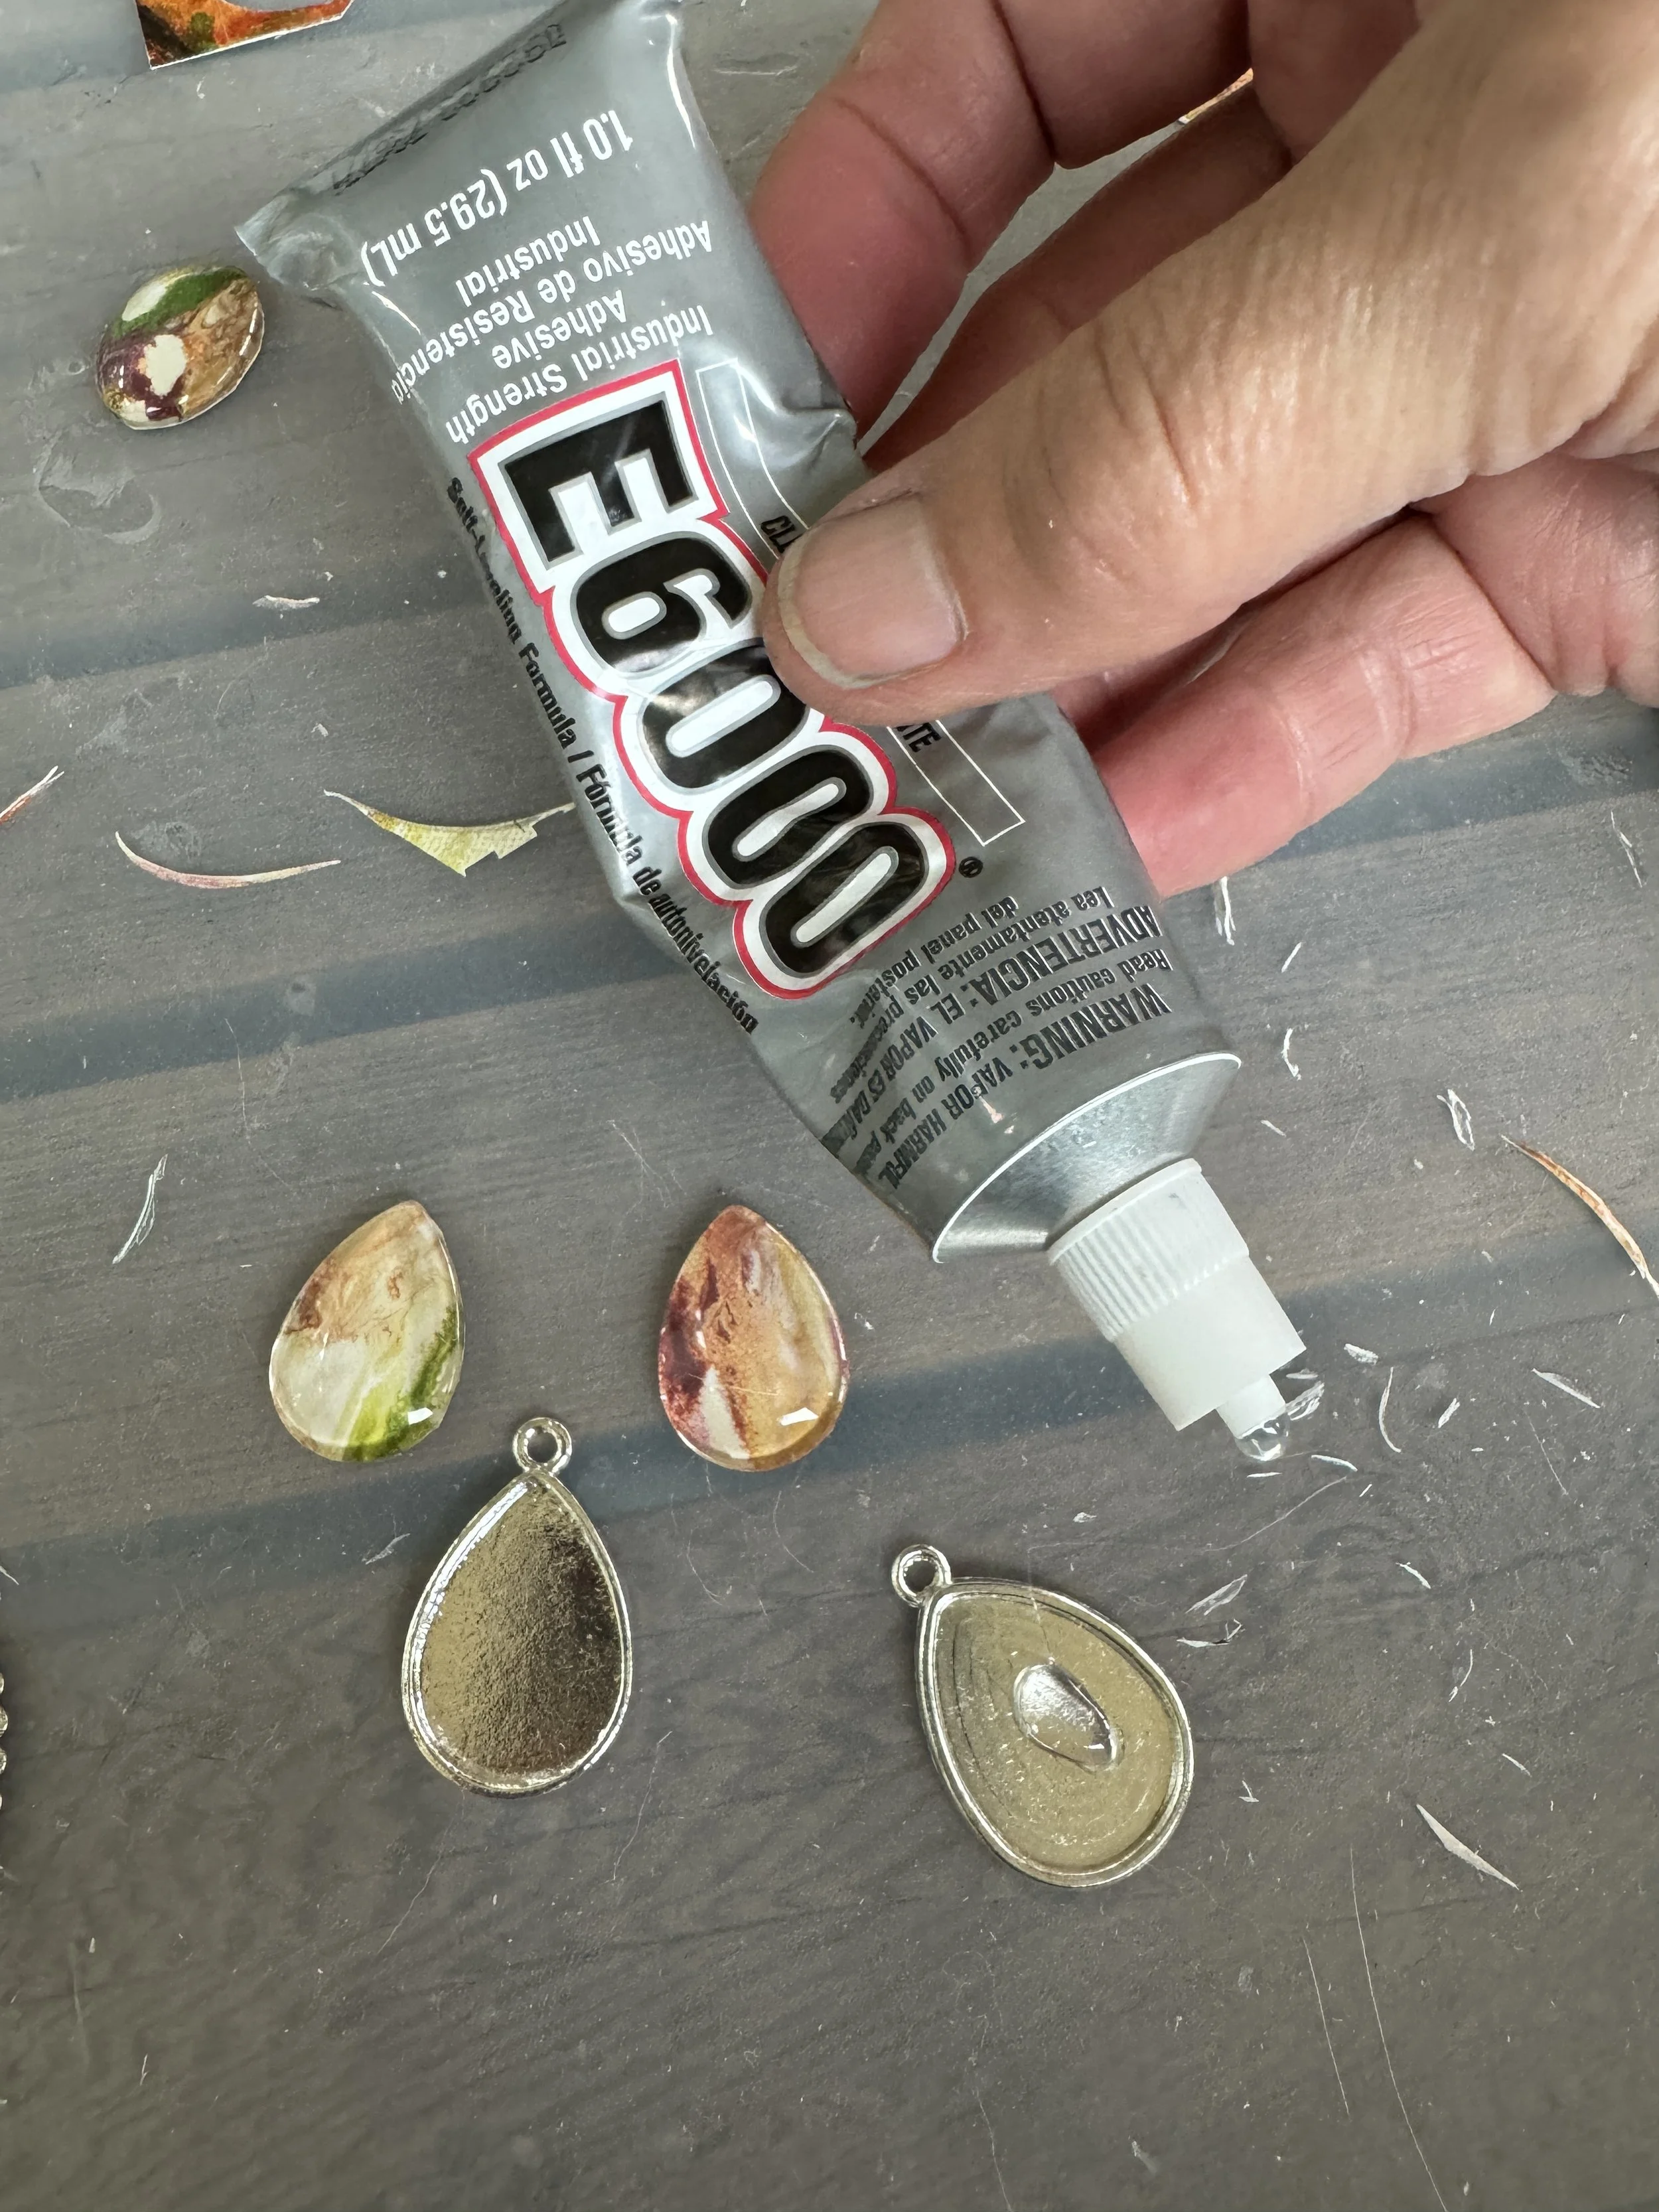
Step 4. Attach cabochon tray:
When glue dries (fully clear), trim excess paper and glue from around cabochon
Using a dob of E-6000 glue into the cabochon tray then spread it around with a toothpick or applicator
Make sure to use E-6000 in a well-ventilated location
Set pieces on your silicone mat to dry overnight before assembling the final piece of jewelry

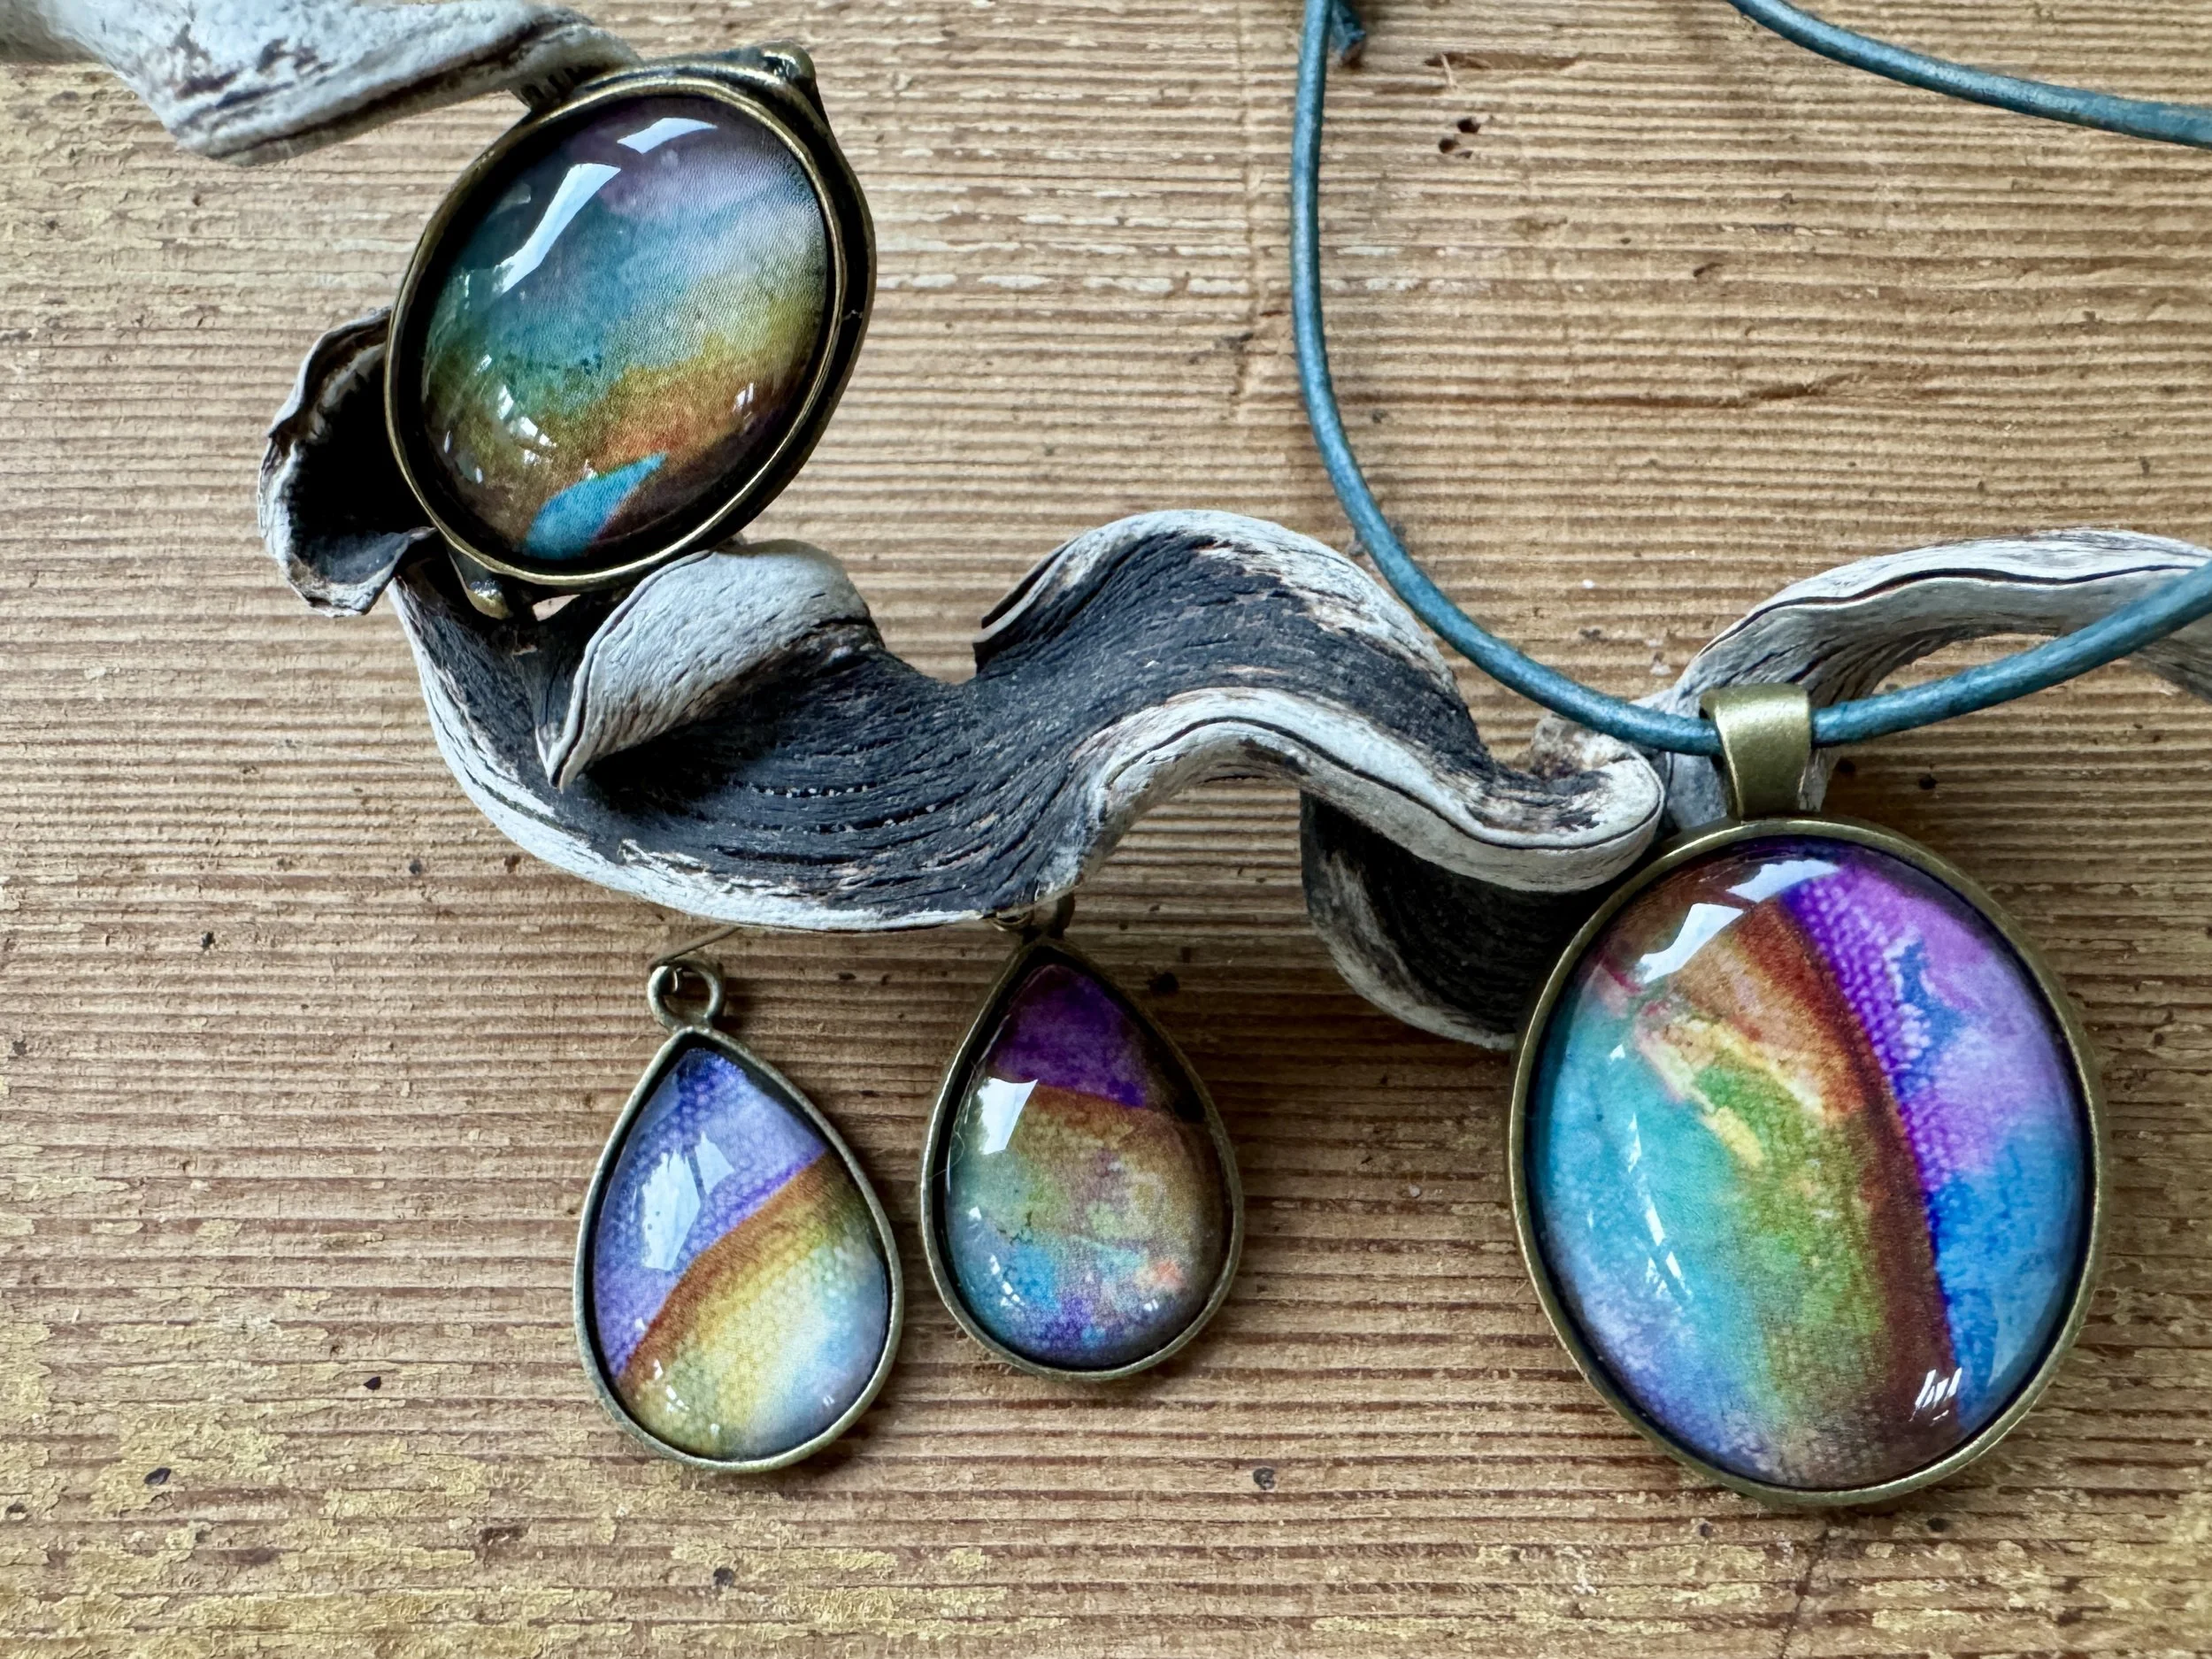
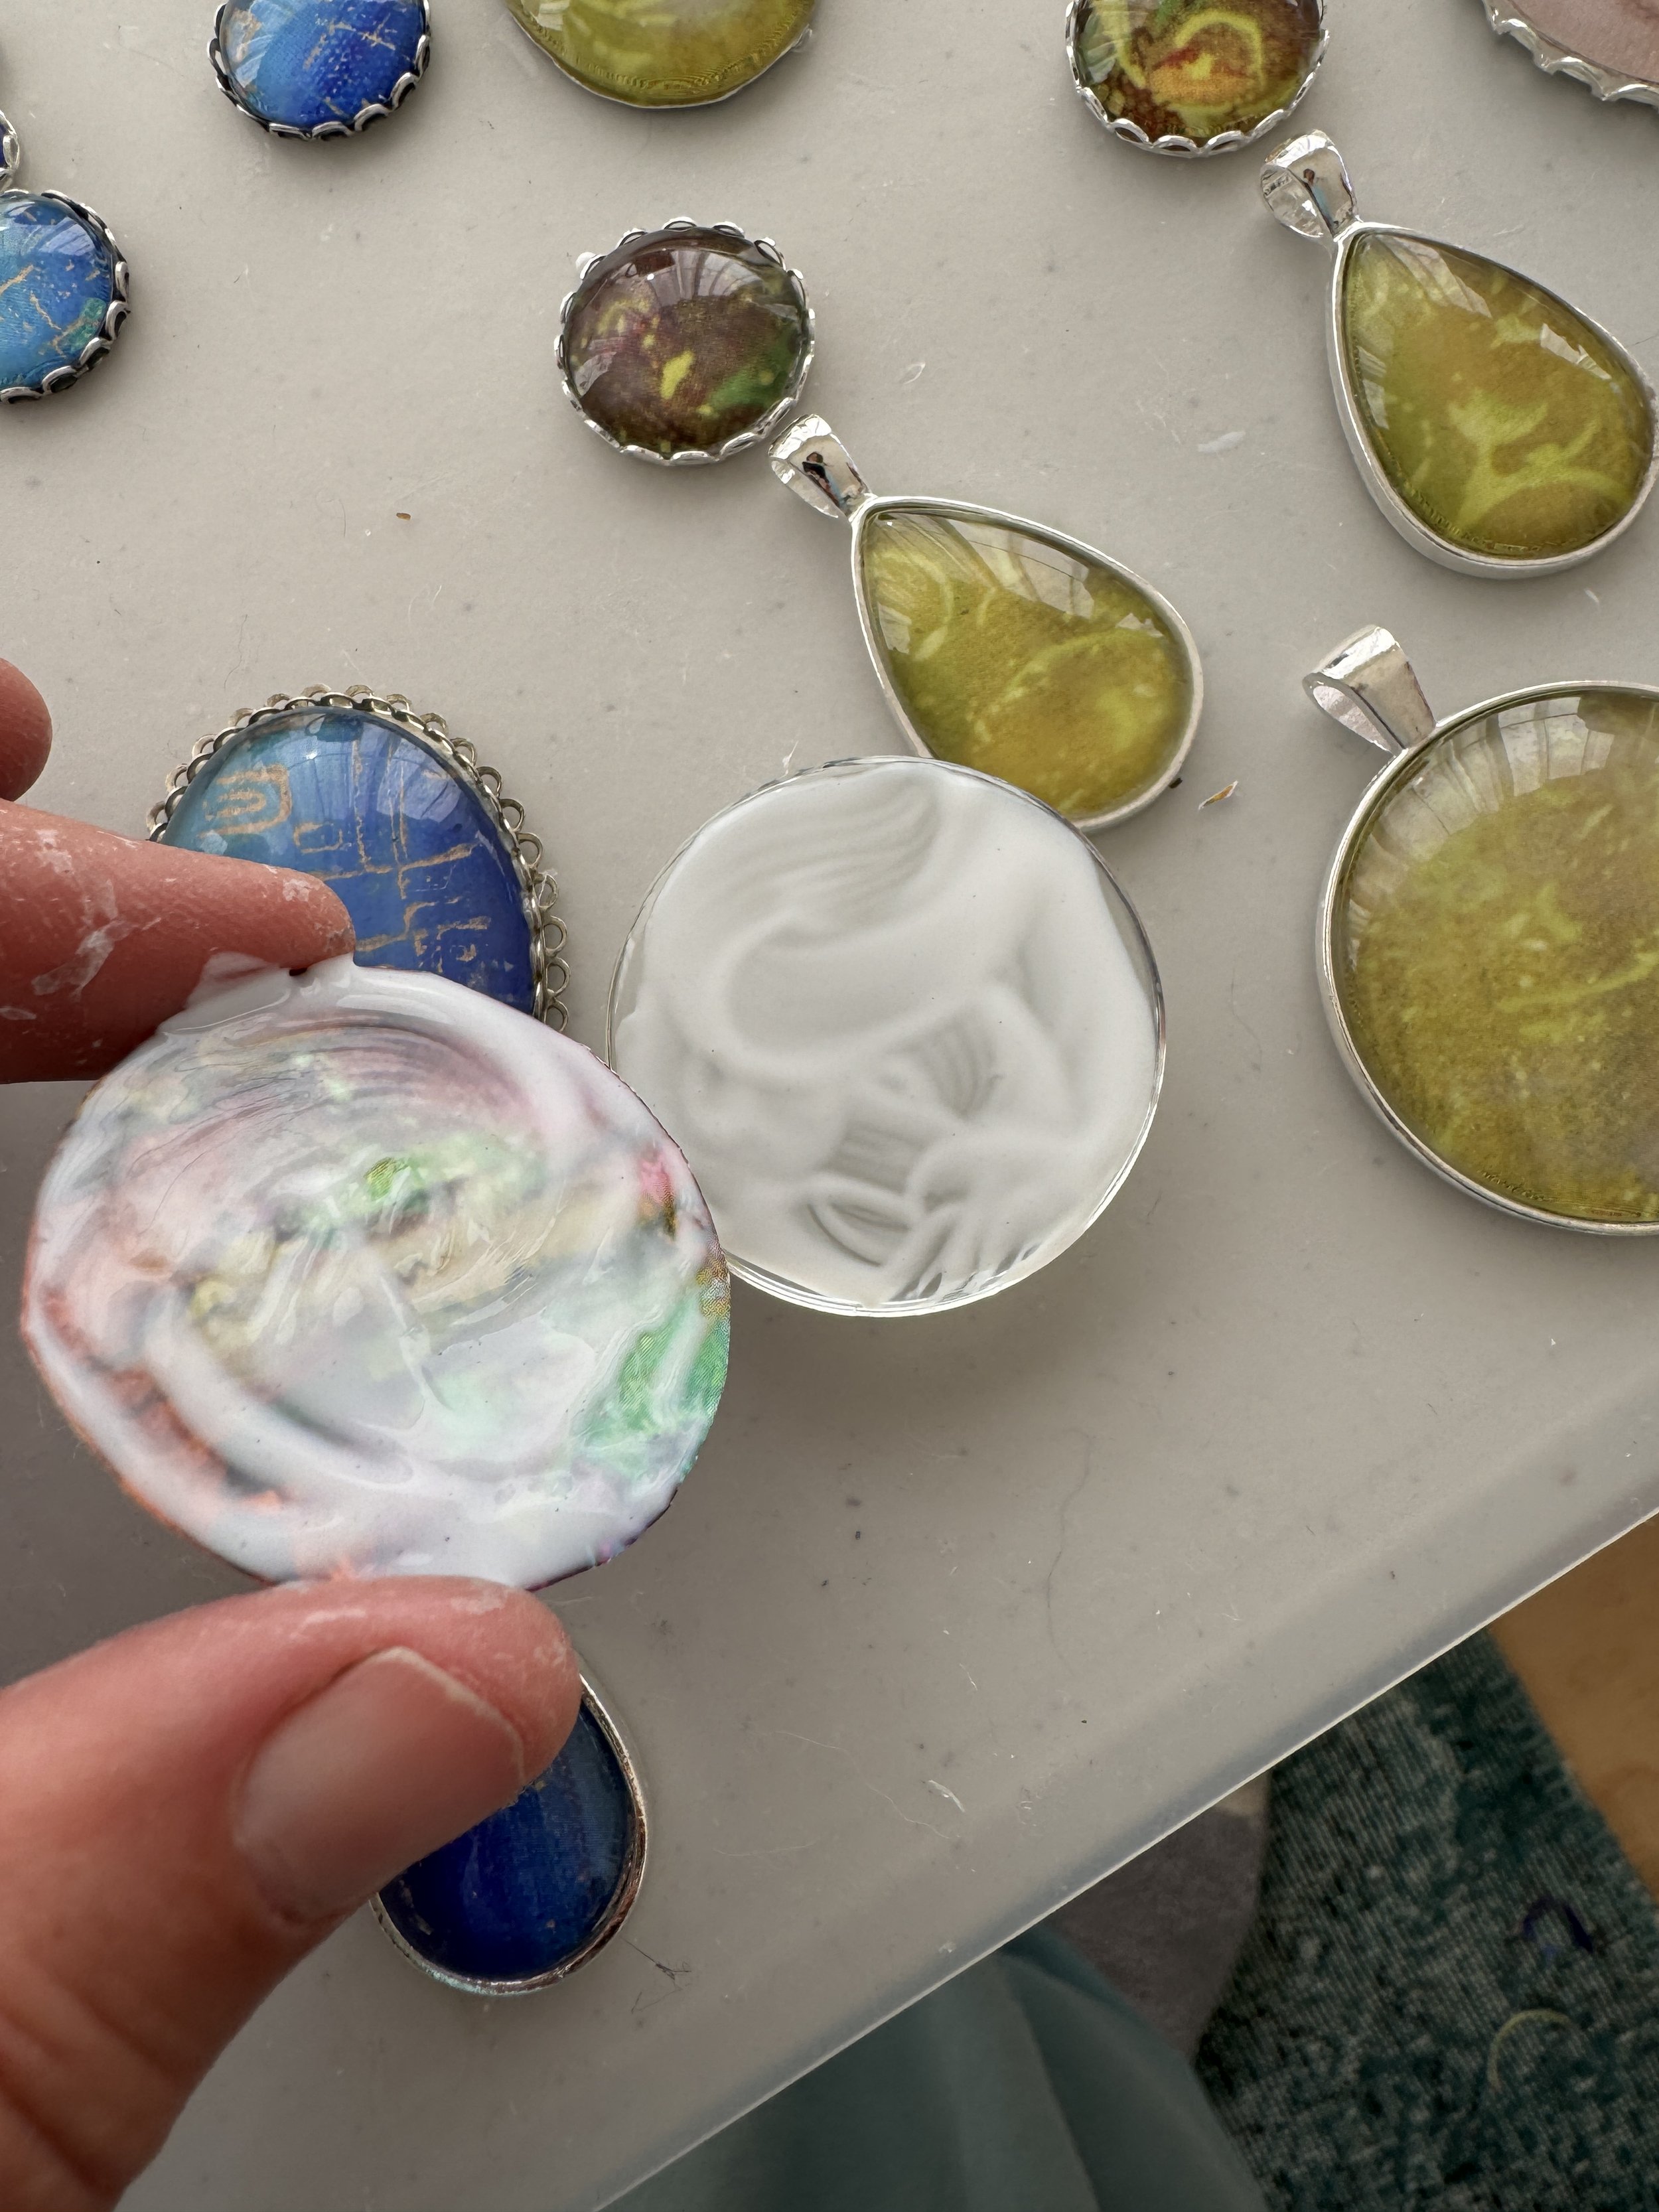
Step 5. You now have beautiful components for creating necklaces, earrings and rings:
For pendants, simply hang as-is on a ribbon, chain or piece of leather
Or create more elaborate jewelry using the filigree-edge cabochon trays and connecting them together with jump rings

I’ve made some jewelry pieces for you
Take a peek at some of the fun Art Under Glass pieces in my GIFT SHOP:

Fine art calendar
Next year’s art calendar to enjoy all year long – and then use for colorful jewelry possibilities!
By the way - it’s not my fault if your family gets upset about the holes in your calendar…


(I won’t judge if you order some just for cutting up!)


Read more about Colorful Products: